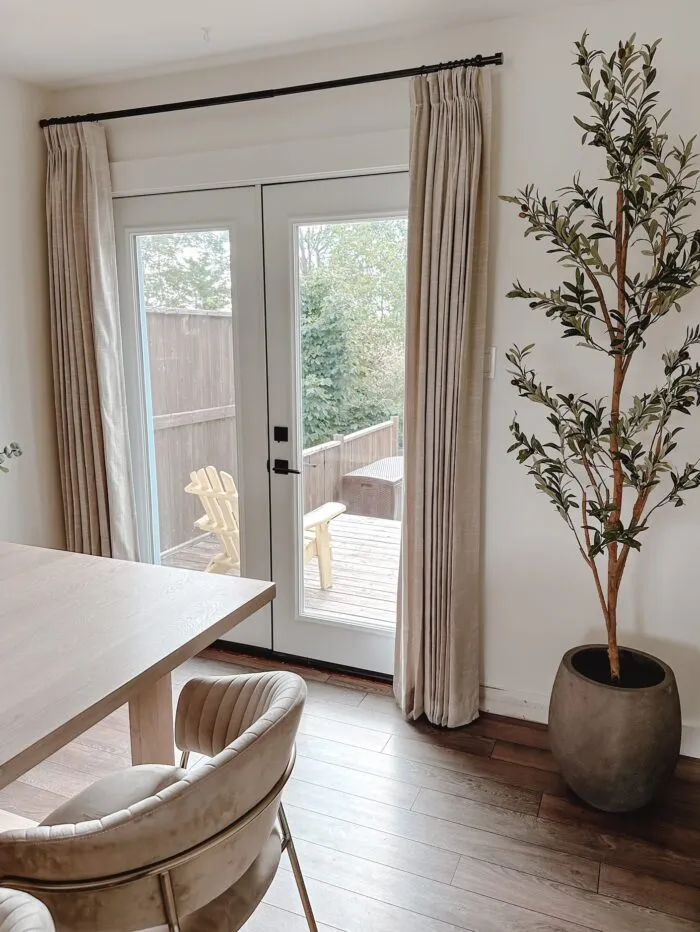
I know all too well how boring your builder grade home can look and feel. So we are talking about 4 easy ways on how to make your home look modern today. The idea of renovating everything feels overwhelming and expensive but you want your house to feel like your HOME. The steos below will help your space feel more luxurious, fresh, and modern at a fairly low cost. Even if you have never attempted a home DIY project before, you will find these upgrades beginner friendly. Let me walk you through them!
how to make your home look modern today
1. Swap out your dated, standard flush mount lights
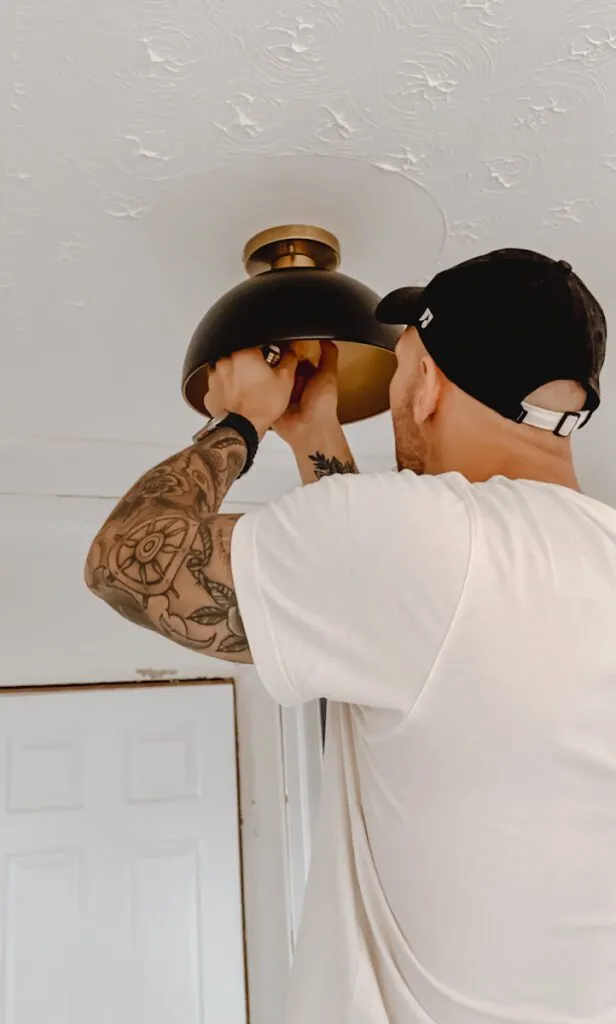
It seems that people hesitate to change out their light fixtures for one of three reasons:
1- Too Expensive
2- Too Complicated
3 – They Don't Make Much of a Difference
This couldn’t be further from the truth! Light fixtures can be extremely budget friendly, straightforward to install, and make a huge impact in any space. This is especially true if you’ve got those classic, dated, cheap looking flush mount lights that came standard with most builder grade homes. If you are in a classic builder grade home, you are almost guaranteed to have a few of these kicking around.
Installing new light fixtures is also a great beginner project. As long as you take the proper safety precautions (turn off the appropriate breakers and confirm using a multi-meter) and always follow the manufacturer's instructions, upgrading your light fixtures is a breeze and well worth the minimal effort required. You can purchase an inexpensive multi-meter for under $50 like this one on Amazon (https://amzn.to/3Q7zOTW). This is a simple tool to use for testing the voltage and making sure you turned off the correct breaker before swapping your light fixture. This purchase is well worth the small investment and will come in handy during any home project that involves electrical work.
As for price, there are so many affordable options online to choose from. I would recommend avoiding the big box stores for your lighting upgrades (unless you find a great sale) and stick to online retailers like Amazon, Wayfair, Bouclair, Structube, etc. You can upgrade light fixtures for as low as $30, especially when updating the flush mount lighting throughout your home. Even larger pendant style fixtures that are focal points of entryways, kitchens, etc., can be very cost-effective.
before and after
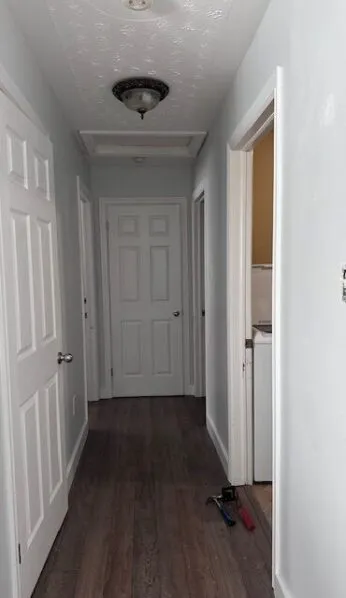
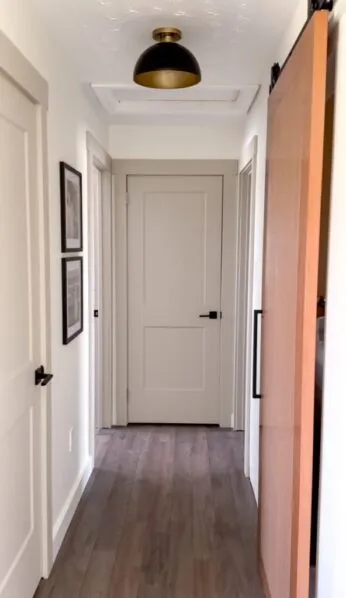
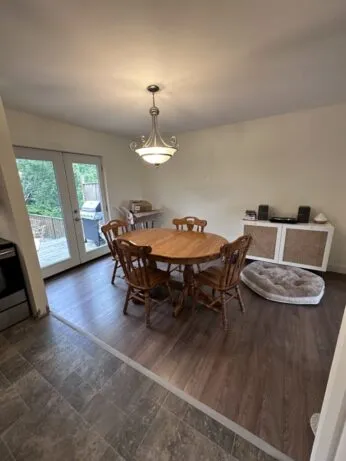
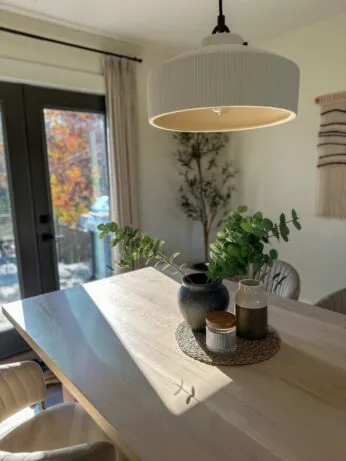
Here is a before and after photo of our pendant style entryway light. This area is a central point of our home and we wanted to make sure we had a modern, stylish piece here to reflect that. We purchased this light fixture from Bouclair for $140 (currently on sale!) and it took less than 30 minutes to install. I love the impact this light has already made in this space and we aren’t even done renovating it! This is a great way how to make your home look modern!
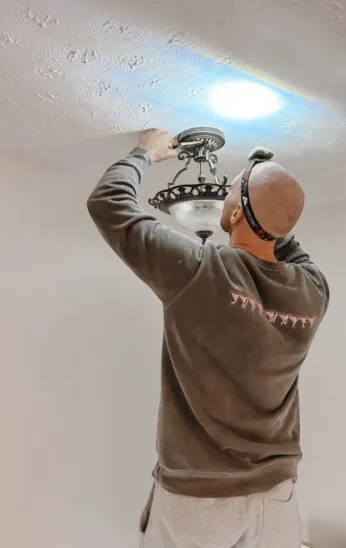
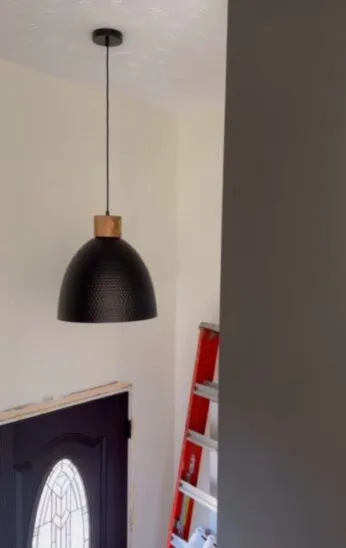
Here is also a before and after of our hallway. This light fixture was on sale at Canadian Tire for $100.
2. upgrade your older light switches to a more modern style
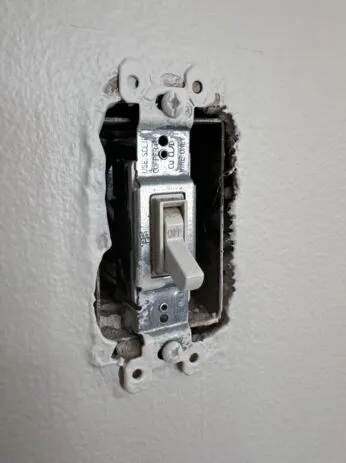
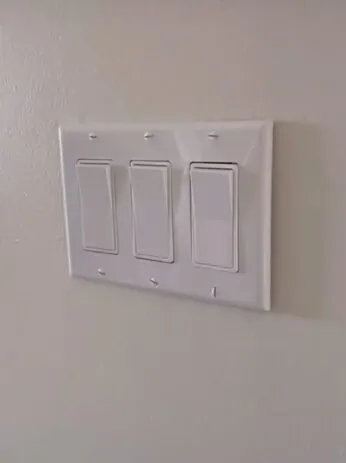
This one may be one you haven’t thought about, but when we moved into our home this was one of the first things I noticed that made it feel very dated. The light switches, plugs, and thermostats were dated in style, but more importantly they were turning yellow and looked worn out.
Prior to moving into this home, I had never tackled electrical work and am in no way considered an electrician. However, after watching a couple quick YouTube instructional videos paired with a few blog posts and I had it figured out. This is another project where having a multi-meter will be beneficial.
Again, as with any electrical work, we want to make sure to isolate the power by turning off the appropriate breakers before changing any switches, outlets, or thermostats. Swapping out switches, plugs, and thermostats is a matter of removing a few screws, pulling off the face plate, disconnecting a few wires and installing the new pieces in reverse order. This literally takes under five minutes for each swap and completely elevates and modernizes the aesthetic of your home!
Here is a before and after photo of our upgrade. I was able to purchase all new plugs and switches for our main living space for $60 CAD.
I truly feel this is an underrated upgrade that creates a big impact in your space! A great way how to make your home look modern!
Here is a complete tutorial REPLACE ELECTRICAL OUTLET: SIMPLE WAY TO UPGRADE YOUR HOME
3. leverage texture through feature walls to add dimension to your space
Accent walls have been around for a long time and aren’t going anywhere anytime soon, and for good reason. They offer a simple way to bring character to any room and can take you from drab to FAB in so many ways. You can do so by adding color or texture and really lend the ability to infuse personality to your space. Think pop-of-color, panelling, shiplap, board and batten, whitewashing...Whatever look you are aiming for can be achieved through implementing a feature wall. Whether you’re going for dark and moody, earthy and organic, or bright and airy, you can utilize feature walls in your space to add dimension and elevate your home.
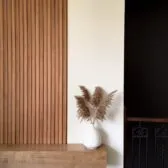
Here is a before and after photo of our living room in a classic builder grade split entry home. For this wall, we chose to add texture using wood slat panelling (Link?) and paired it with a floating shelf. All it required was an afternoon to paint the wall, cut and attach the wood slat panels. For this wall we wanted to add even more dimension, so we decided to pair it with a custom shelf that we had custom built by a local woodworker (and friend). It is hard to believe this is the same living room! This is such an easy way to elevate your builder grade home and how to make your home look modern.
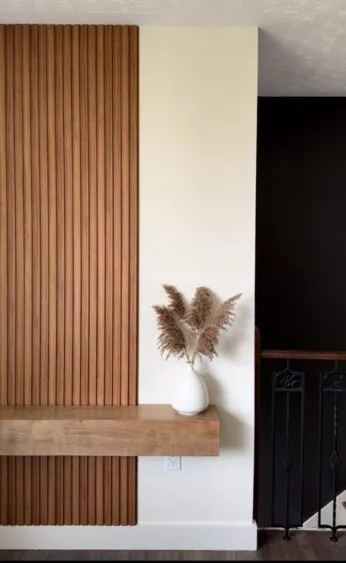
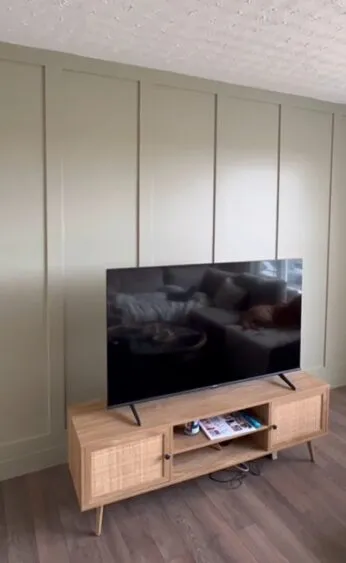
Some more before and afters
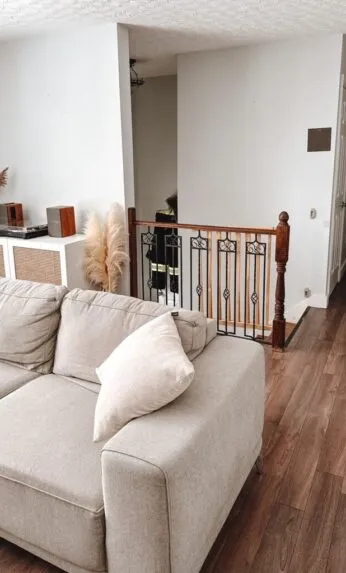
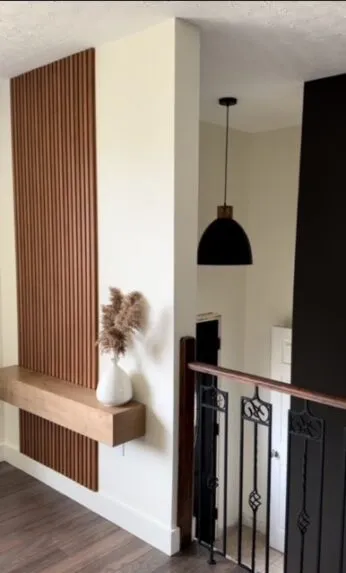
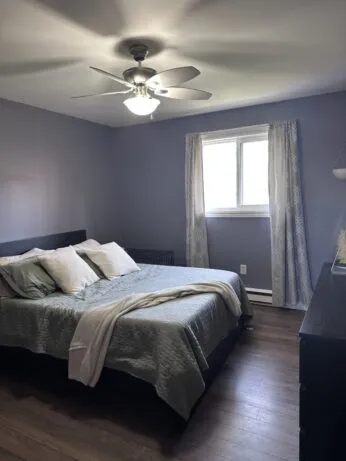
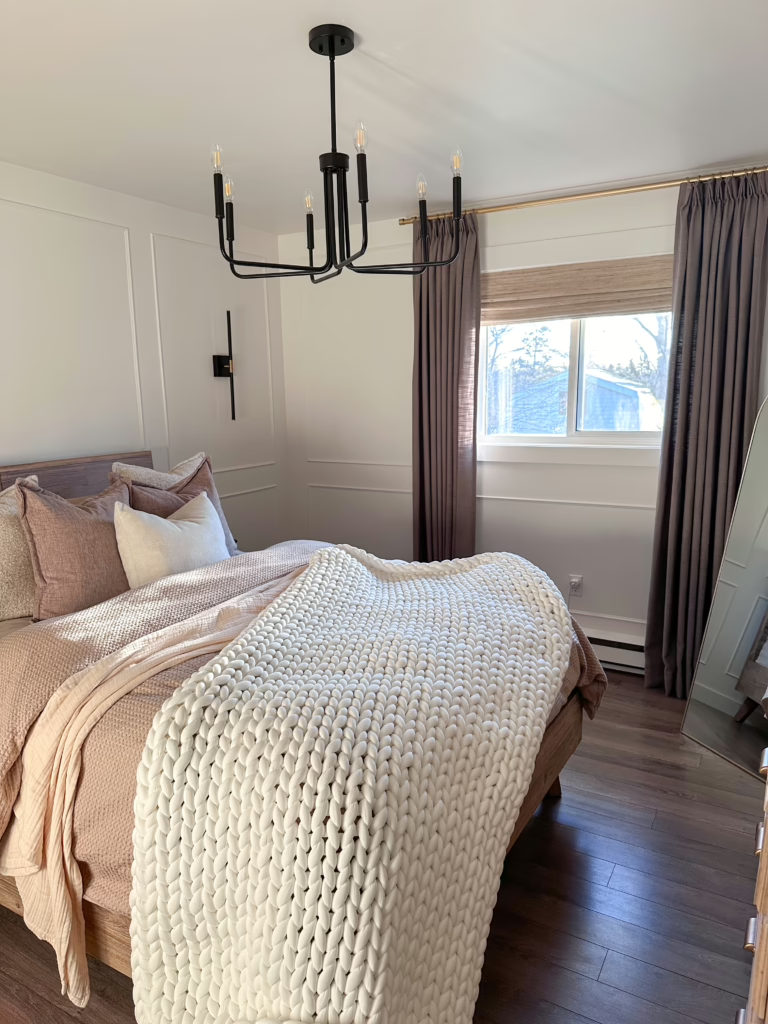
I've got blog posts on each of these projects!
BEAUTIFUL EASY DIY WALL MOLDING: HOW TO PLAN, MEASURE, & INSTALL
MODERN WOOD PANEL ACCENT WALL YOU CAN EASILY DIY
EASY BOARD AND BATTEN WALL: EVERYTHING YOU NEED TO KNOW
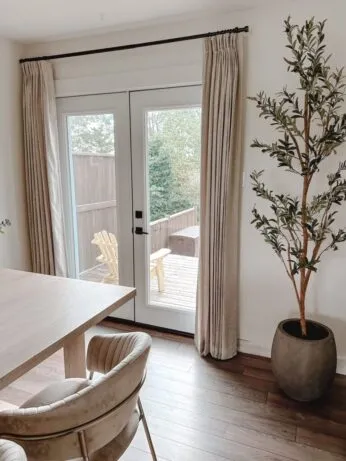
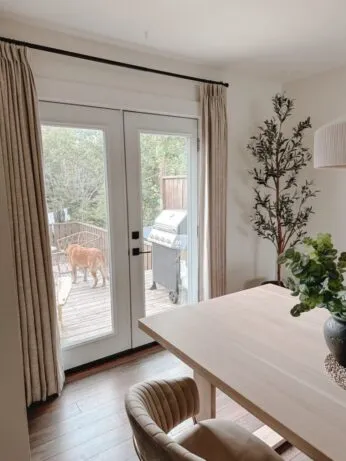
4. how to make your home look modern by installing curtains high and wide
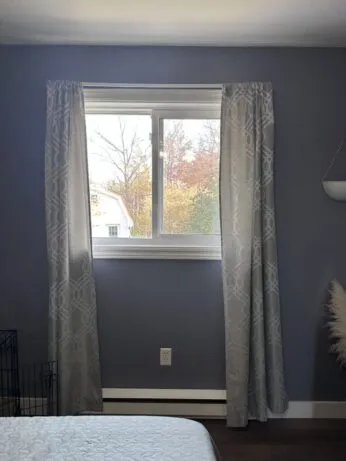
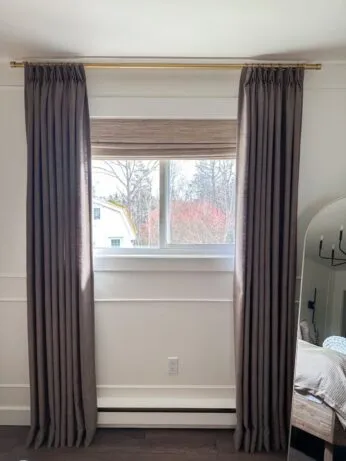
We’ve always been taught to hang our curtains right around or directly on the window trim. The truth is, doing this makes not only your windows look small, but shrink the feel of the entire room.
If you want to really elevate your space and give your windows a custom feel, you’ll want to install your curtain rod only a few inches from the ceiling and give roughly 6-12 inches on either side of the window. This will make everything feel bigger and can even give the illusion of higher ceilings in a standard room. Another tip is to check the length of your curtains. You want to assure they aren’t too short; you want them to at least hover just above the floor.
Here is my step by step how to video for hanging curtains and a complete tutorial How To Hang Pinch Pleat Curtains For A Designer Look 2025
conclusion
Hopefully with these easy-to-implement enhancements to your space, you can begin the journey of transforming your house into a home you love and start to elevate your builder grade home today to look and feel more expensive and modern! You can see how these simple, yet effective changes can enrich your space and give you a modern, luxurious feel.
Loved this guide on how to make your home look modern in 2025? Let’s keep the creativity flowing!
✨ Save this project for later by pinning it to your favorite Pinterest board! 📌 One click, and you’ll always know where to find it when you’re ready to dive in.
Craving more DIY and home decor tips and inspiration?
Join my insider circle by signing up for my newsletter! You’ll get:
✨ Exclusive step-by-step guides you won’t find anywhere else.
✨ Budget-friendly home tips that make a big impact.
✨ My personal go-to product recommendations.
✨ Early access to brand-new DIY projects before they go live!
You might also like my other post on How I Transformed My Boring Builder-Grade Hallway


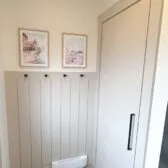


Can you please share the hallway trim/door color you used above?
Absolutely! It is Shiitake by Sherwin Williams. I also have that project linked at the bottom of this post with the full details!
These are such good ideas! I love the photo you included of putting curtains in front of your french doors in the dining/kitchen area. We are currently in the process of having our cabinets painted by a local company and I've been trying to figure out how else I can decorate the room and make it feel not as outdated. Thanks so much for sharing!
Yes! Love this. So exciting for you! I hope you love it when it all comes together!