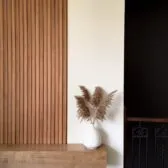
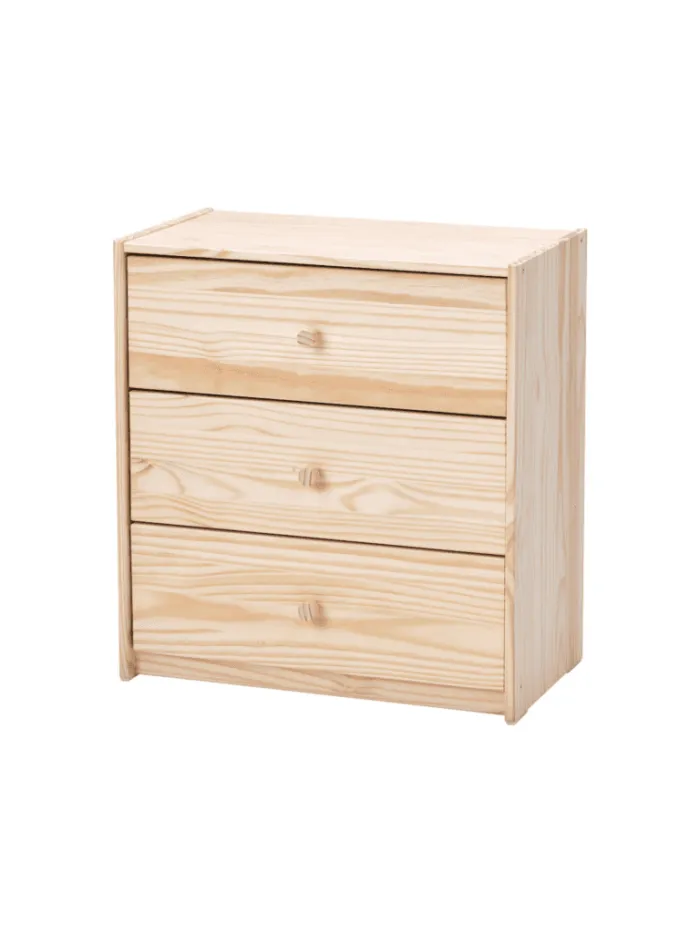
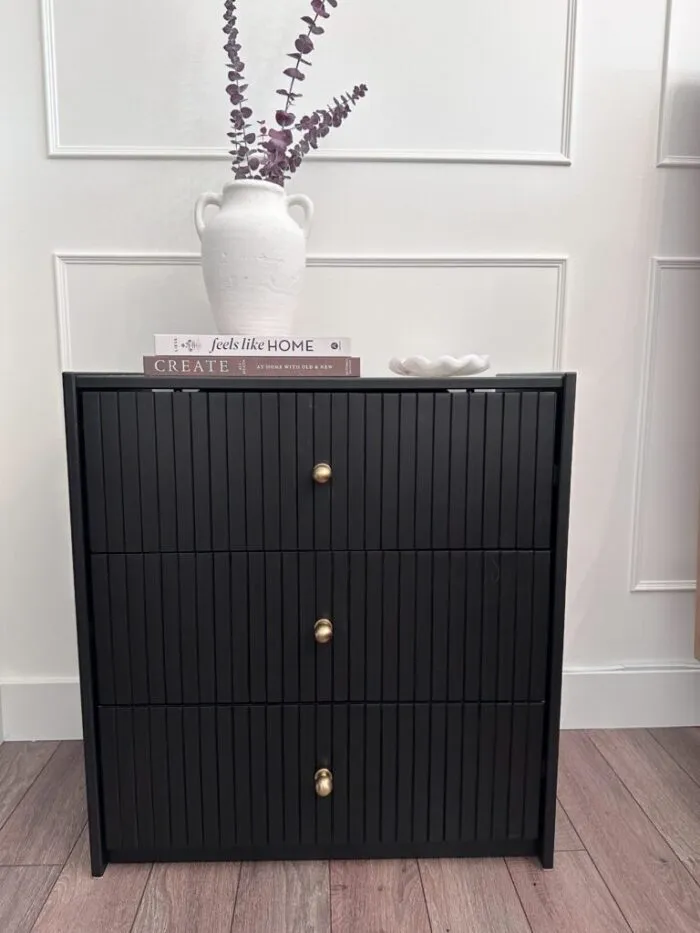
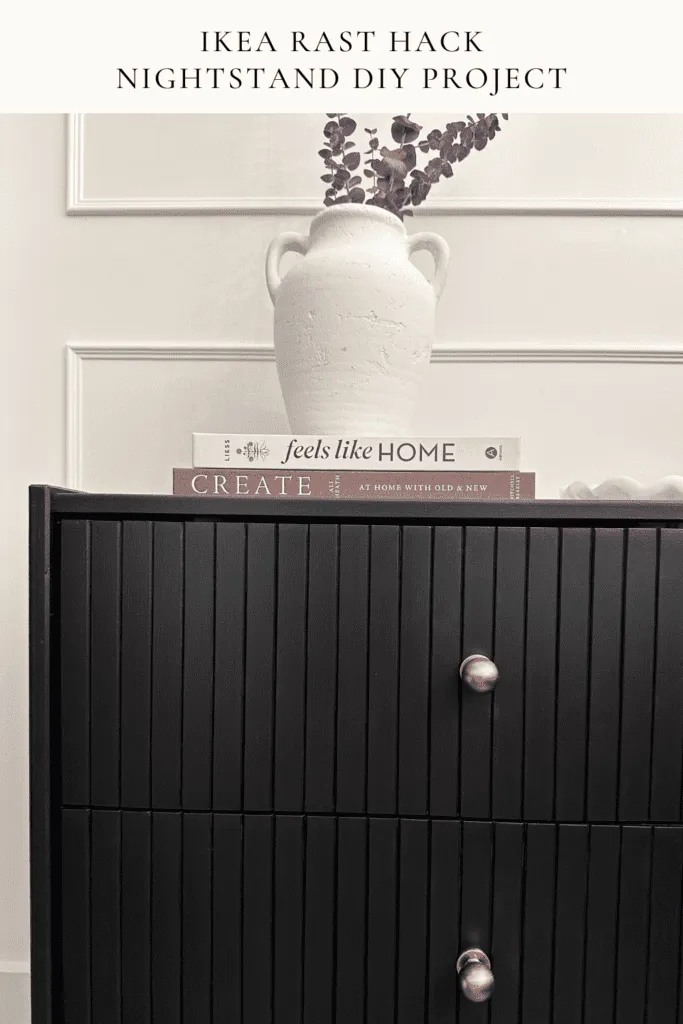
When I stumbled across my dream nightstands—priced at $440 plus tax each—I knew I had to find a way to recreate the look for less. The IKEA RAST dresser is an affordable and versatile piece that’s made for a DIYer. It is made of real pine and ready to paint or stain as you wish! With a little creativity and some inspiration I was able to use the Rodeby armrest tray from IKEA to flute the drawers with minimal effort. I turned this humble dresser into a designer dupe fluted drawer set for half the price! Here’s exactly how to do this Ikea Rast nightstand hack so you can do it too!
materials and tools for ikea rast nightstand hack
- IKEA RAST dresser
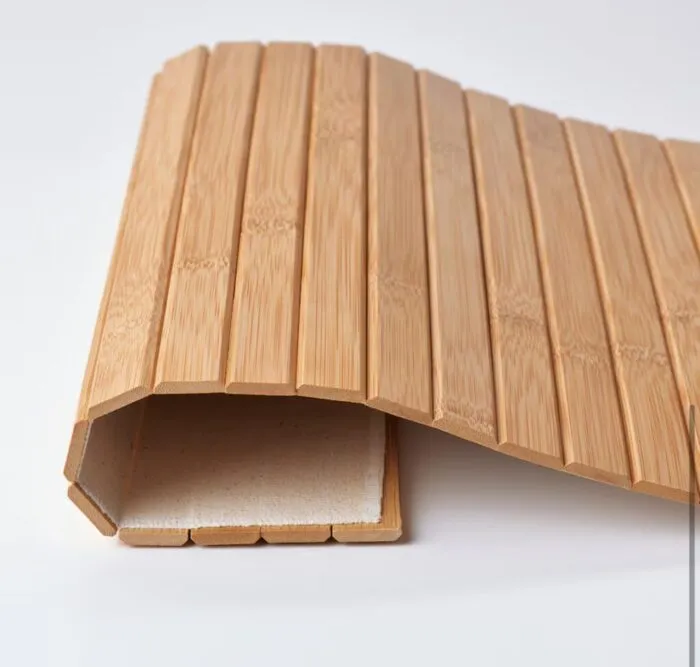
- Rodeby armrest tray (used for the drawer fronts)
- Circular saw
- Utility knife
- Wood glue
- 120-grit and 220-grit sandpaper
- BIN Primer (shellac-based)
- Sherwin Williams Enamel Cabinet and Trim Paint in Tricorn Black
- Paint roller and small paintbrush- I use a foam roller for BIN primer
- Hardware of your choice (I used knobs from Amazon)
- Wood filler (optional, for pull hardware)
price breakdown & links
- RAST Dressers: $99 x 2 = $198
- Rodeby Armrest Trays: $15 x 6 = $90
- BIN Primer: $45 (included in the last link below)
- Sherwin-Williams Enamel Cabinet and Trim Paint (Quart): $47
- Knobs: $36.99 (included in link below)
- Link to other materials and tools mentioned above
Total: $416.99 CAD
Note: I already had the sanding paper, painting supplies, and tools which helped save additional costs.
You could also make these even cheaper by opting to create your fluted drawers with wood cut to size instead of using the armrest trays but I appreciate the ease and look of these.
step 1: prepping the rodeby armrest trays
For this Ikea Rast nightstand hack I decided that it was easier to paint everything first before assembly so that I could use a roller as much as possible with minimal brush stroke marks. I felt like this was a quicker and easier process while yielding the most professional finish.
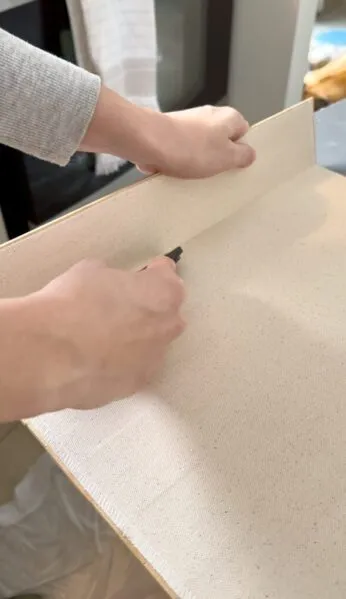
My inspiration piece had fluted drawer fronts, so I decided to use the Rodeby armrest trays to mimic the look. Each tray was slightly oversized for the drawers, so I used a Utility knife to cut the material holding them together to remove three pieces off the ends. This made the rodeby armrest tray slightly shorter than the width of the drawer, so I centered them on the drawer front which left about 1/4 inch reveal of the drawer underneath.
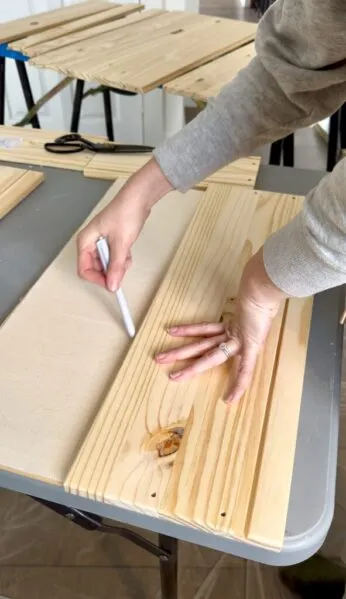
Then I used a circular saw to cut them to the exact height of the drawer fronts. I measured by laying the armrest face down (material side up), placed the drawer on top and used a pencil to draw a line. If you have a straight cut guide that would be helpful. I just free handed it.

Pro Tip: Position the cuts so that any imperfections end up on the bottom edge of the drawer. This way, they won’t be visible once the dresser is assembled. Mine weren't perfect but you couldn't notice once assembled.
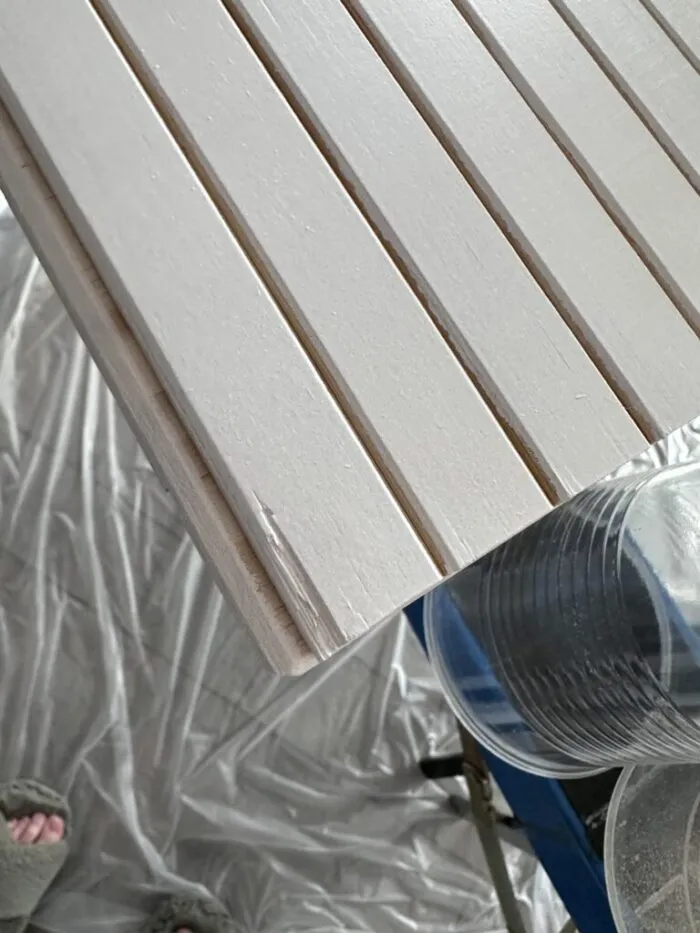
The rodeby armrest trays ended up splitting a little bit in a few spots from the saw. If this happens for you just take a bit of wood filler and fill it in and then sand with 220 grit until smooth. Once I did this and painted over you could not even notice a little bit!
step 2: attaching the rodeby armrest trays to the drawer fronts
Once the armrest trays were cut to size, I lightly sanded the edge that I cut to remove any rought edges. The material that holds the tray together was freyed where I cut it so I took a pair of scissors and cut on a an angle to remove any freying material. I cut on an angle so the material was all hidden behind the wood as much as possible.
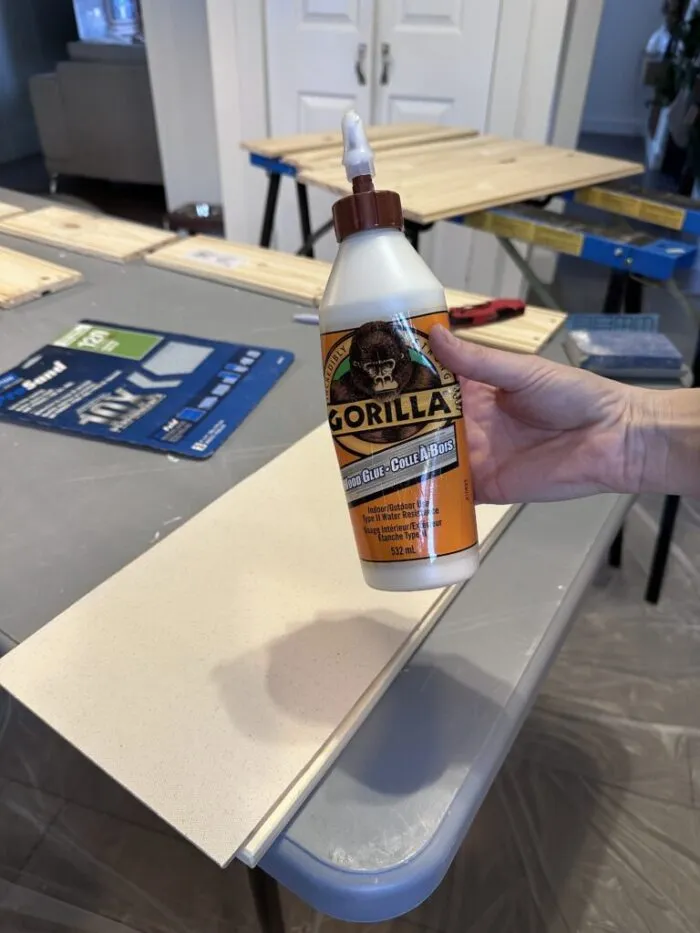
Then, I glued them onto the front of each drawer with wood glue. You could also use construction adhesive. Make sure the flutes are aligned straight and evenly spaced for a professional look. Once painted it looked perfect, almost intentional!
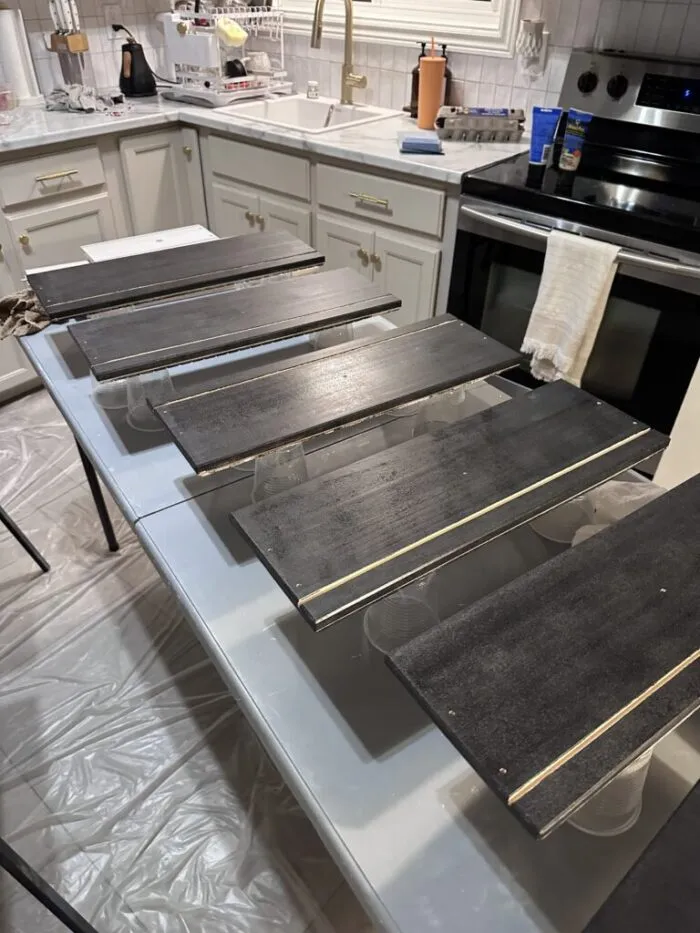
Once attached, I put weight ontop to hold the armrest trays tight to the drawers while they dried. You could also use clamps but I did not have enough. My method worked just fine! Allow the glue to dry completely before moving on to the next step.
step 3: sanding and priming for ikea rast nightstand hack
Pine boards like those used in the RAST dresser can be rough and prone to knots showing through the paint. I started by sanding all the pieces with 120-grit sandpaper to smooth out any rough spots, followed by 220-grit for a finer finish.
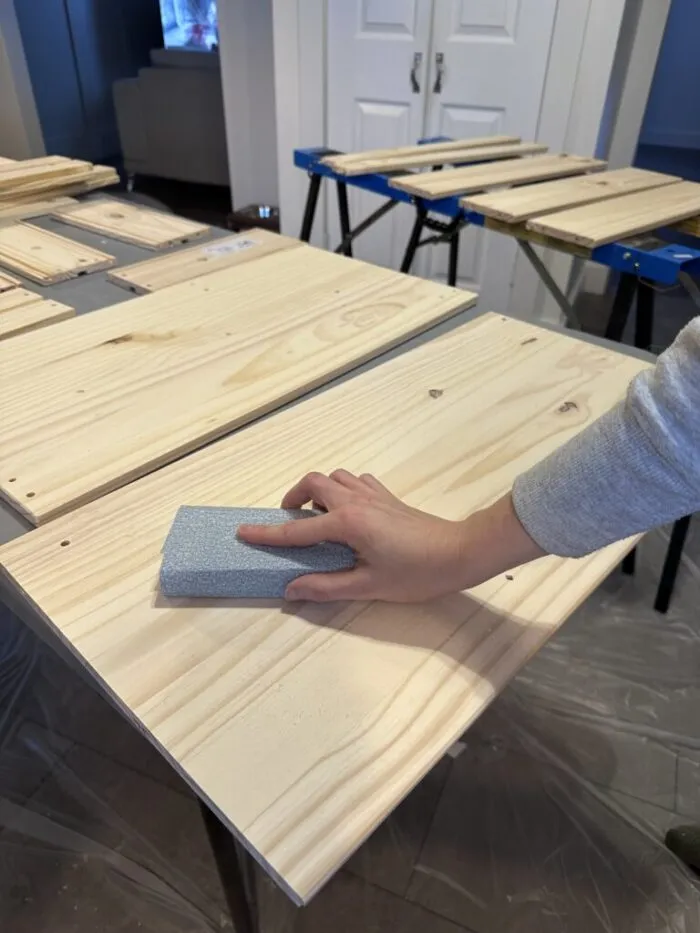
Next, I applied two coats of BIN Primer. This shellac-based primer is a game-changer for painting pine furniture because it seals knots and provides a smooth, paint-ready surface. I call this stuff liquid gold because it errs on the pricy side for primer but it is totally worth it if you want a lasting finish!
After the primer dried (it dries very quick) I felt like there was still a bit of texture so I lightly sanded everything again with 220-grit sandpaper to eliminate any texture from the primer and wood. This step is optional and I do it depending on my surface project-to-project. With this one, it was too rough for me so I just went over each piece with just a couple of swipes with the sandpaper and it was super smooth! Ready for paint.
Pro Tip: Wipe off all dust THOROUGHLY after sanding to ensure a smooth finish.
step 4: painting ikea rast nightstands with sw
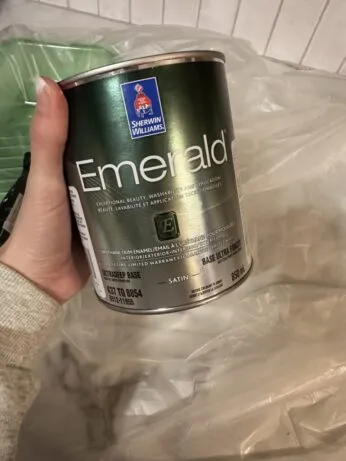
For the finish, I chose Sherwin-Williams Enamel Cabinet and Trim Paint in Tricorn Black. This paint is worth every penny for its durability and professional look, especially when you catch it during a sale for 30%-40% off. I have used this paint to paint my kitchen cabinets as well and it truly is incredible paint! So durable and provides a smooth high quality finish.
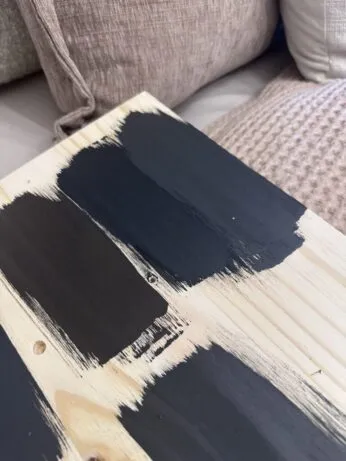
It is always good to test a few colors first, which you can see below. I recommend this as every color is going to look different depending on the lighting in your home.
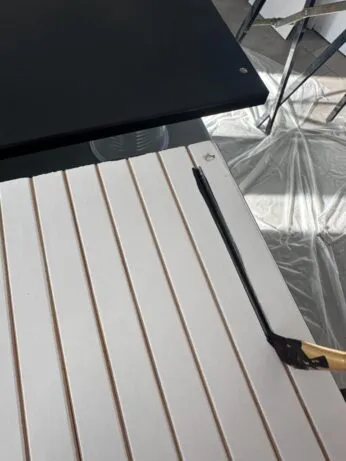
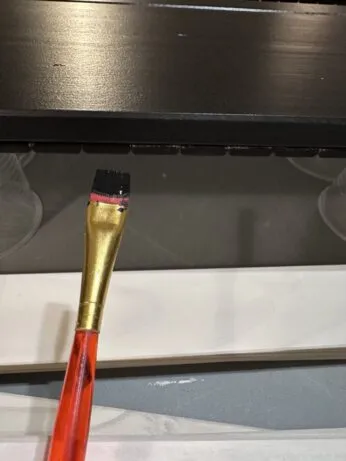
I applied two coats of paint using a roller for most surfaces and a small brush to get into the grooves of the fluted drawer fronts. Allow each coat to dry fully before applying the next. I did have to do 3 coats of paint with the small brush to get into the grooves and cracks of the Rodeby armrest tray.
step 5: assembly and hardware
Once all the pieces were painted and dried, I assembled the dresser according to IKEA’s instructions. I added sleek knobs from Amazon to complete the look, but if you prefer pulls, you can fill the pre-drilled holes with wood filler, sand them smooth, and drill new ones using a hardware template for precision. Your Ikea Rast nightstand hack is almost complete!
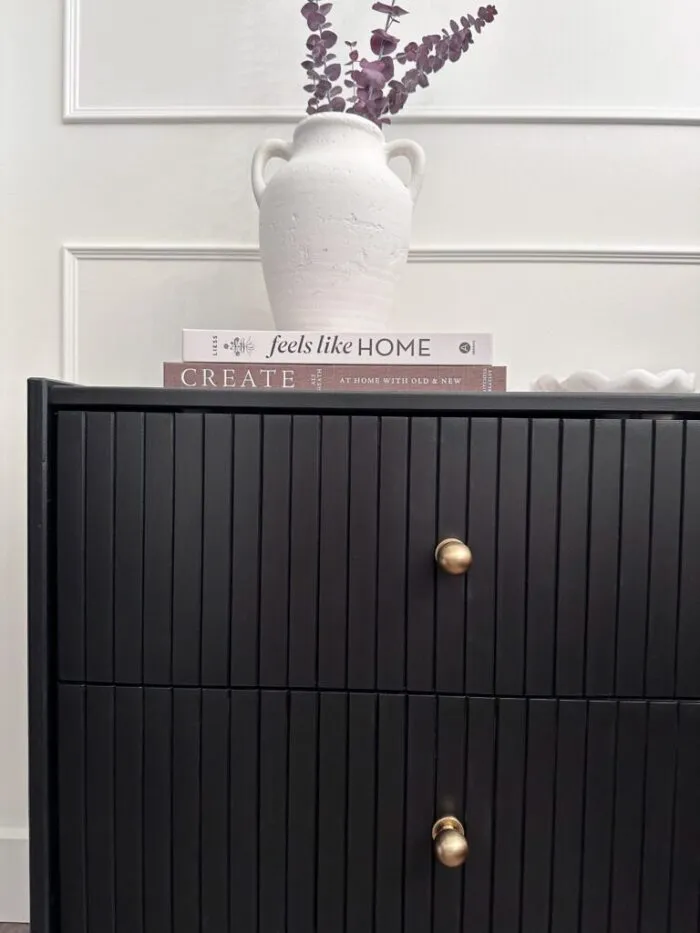
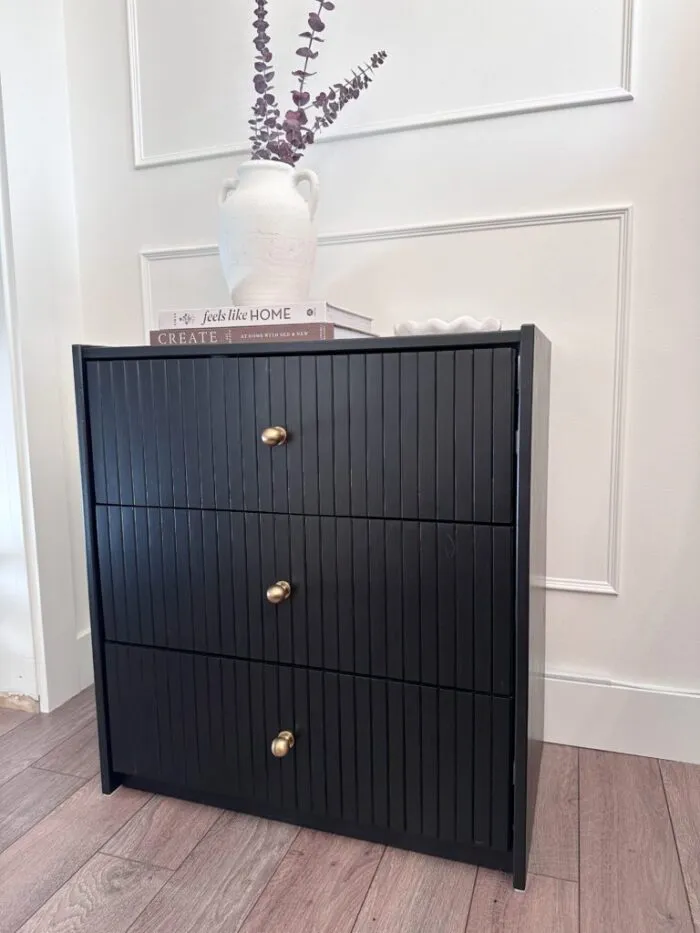
To hide the screws visible on the sides of the dresser, I painted over them with Tricorn Black. The paint blends them seamlessly into the frame. I was going to fill them with wood filler but they didn't sink into the wood deep enough so I just decided to paint right over them and I feel like you can't even notice unless you are looking for them.
final touches and styling of ikea rast nightstand hack
The finished product looks like a high-end designer piece for a fraction of the cost. Style your new fluted drawer nightstands with your favorite decor items—think table lamps, books, or a small plant. Always consider different heights when styling to add dimension.
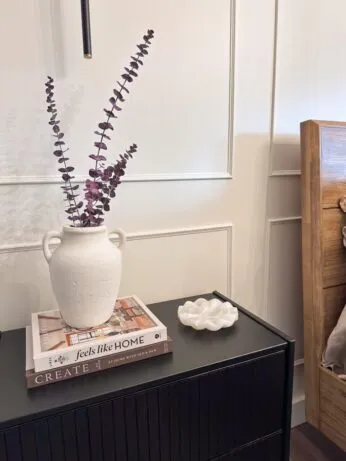
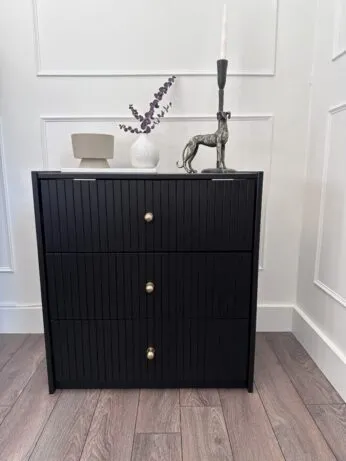
This project was a fun, budget-friendly way to get the look I wanted without breaking the bank. I love that there are different ways you could do an Ikea Rast nightstand hack. Have you ever hacked IKEA furniture? Share your favorite projects in the comments below!
loved this project?
Let’s stay connected!
If you found this DIY guide of the Ikea Rast nightstand hack helpful, don’t forget to save it for later by pinning it to your favorite Pinterest board! 📌 It’s the easiest way to come back when you’re ready to tackle this project.
Want more inspiration?
Sign up for my newsletter and get exclusive step-by-step guides, budget-friendly home ideas, and my favorite product recommendations delivered straight to your inbox. Plus, you’ll be the first to know about new DIY projects!
Check out my post Beautiful Easy DIY Wall Molding: How To Plan, Measure, & Install
