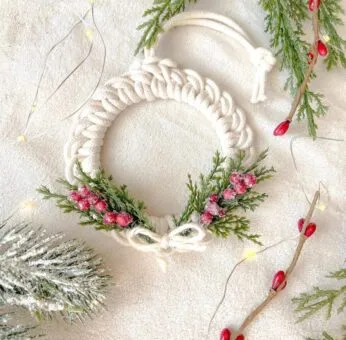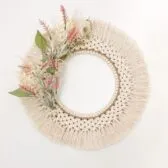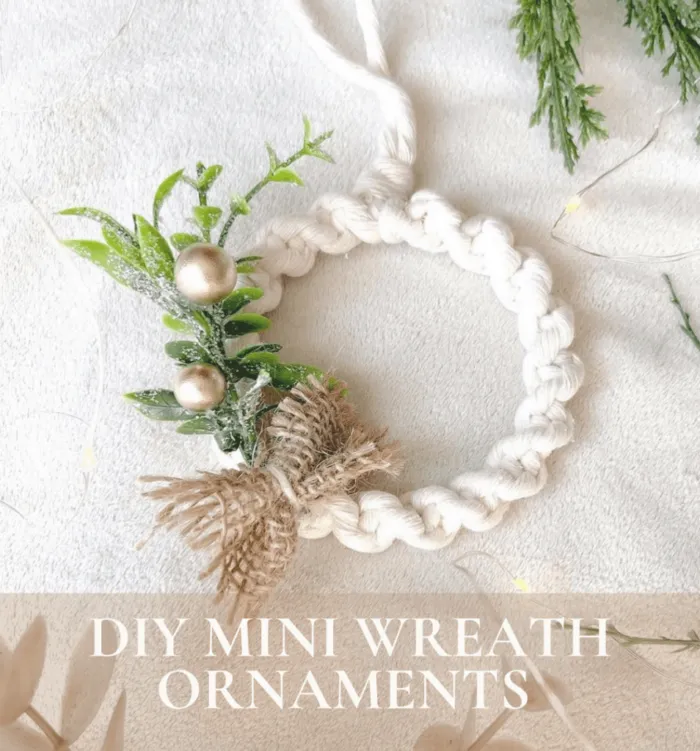
There are a few different styles and options when it comes to making this adorable DIY macrame Christmas ornament. In this post, I’ll show you how to make the spiral knot version. For other styles, feel free to check out my additional tutorials linked at the bottom of this post.
I've made and sold these ornaments at craft fairs for the past three years, and they’ve consistently been a top seller so this is why I’m excited to teach you how to make them yourself. Who doesn't love a little macrame wreath ornament added to their tree? They add a beautiful white contrast so let's get into it!
supplies and tools for diy macrame christmas ornament
- Macrame cord (3mm or 2mm; single strand, 3-ply, or braided) My favourite brand is Ganxxet as it is the best quality I have ever used, but there are many sellers on Etsy, the best place to buy it. Avoid the stuff at Michaels and other craft stores, you want 100% recycled cotton cord, it makes a difference in the asestetic and quality of your final product.
- Then get metal hoop 2.5 or 3 inches, or any size you like. I prefer 3 inch
- Faux Christmas leaves or floral pieces, twine, ribbon
- Measuring tape
- Glue gun
- Scissors
- Lastly, Wire cutters
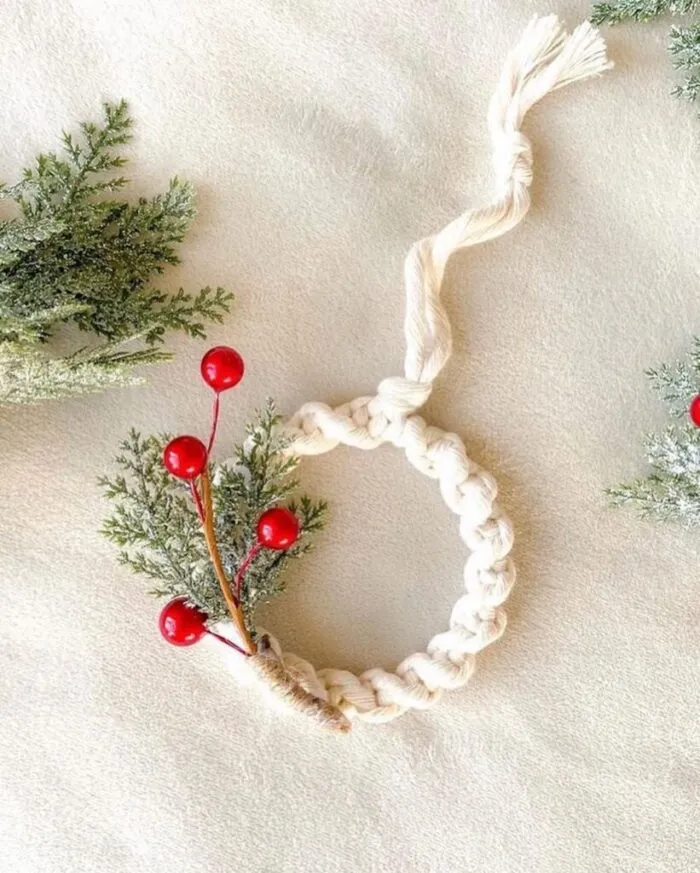
Steps to Making diy macrame christmas Ornament
The main technique for this DIY macrame Christmas ornament is the macrame spiral knot. So here’s a step-by-step guide:
step 1: prepare your cord
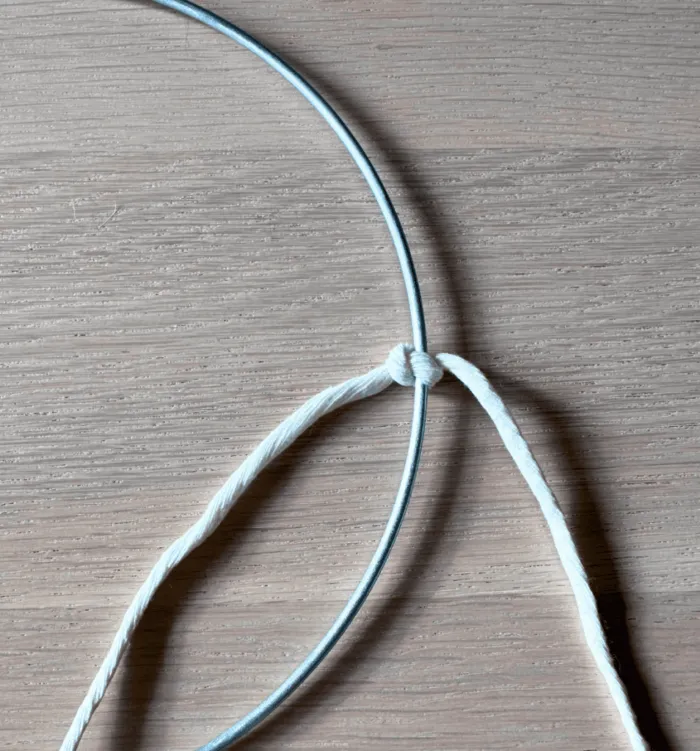
Cut one piece of cord about 100 inches long the fold it in half around the metal hoop and secure it with an overhand knot (also known as a half knot). Just like you are starting to tie your shoe! This creates two strands, which will be your "working cords" for tying knots. The metal hoop serves as your “filler” — meaning you’ll tie the knots around it.
** I made these before writing this blog post and do not have any small metal hoops at this time so for the purpose of demonstrating, I am using a larger metal hoop.
step 2: begin the spiral knot
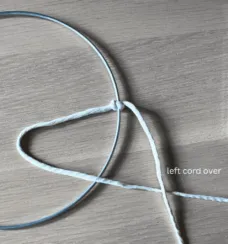
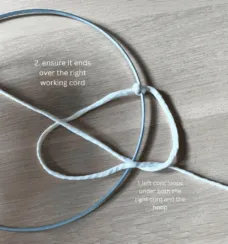
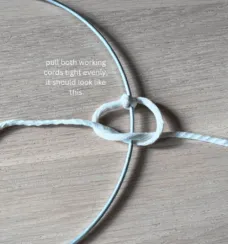
Next, take the left working cord and pass it over the metal hoop to form a loop. Then, take the right working cord, pass it over the tail of the left cord (ensuring it stays above the left cord), then bring it behind the hoop and up through the loop on the left side. Then you will pull both cords to tighten the knot.
step 3: continue in the same direction
Then keep repeating the knot in the same direction (always starting with the left working cord over the metal hoop). As you continue, the knot will naturally begin to spiral.
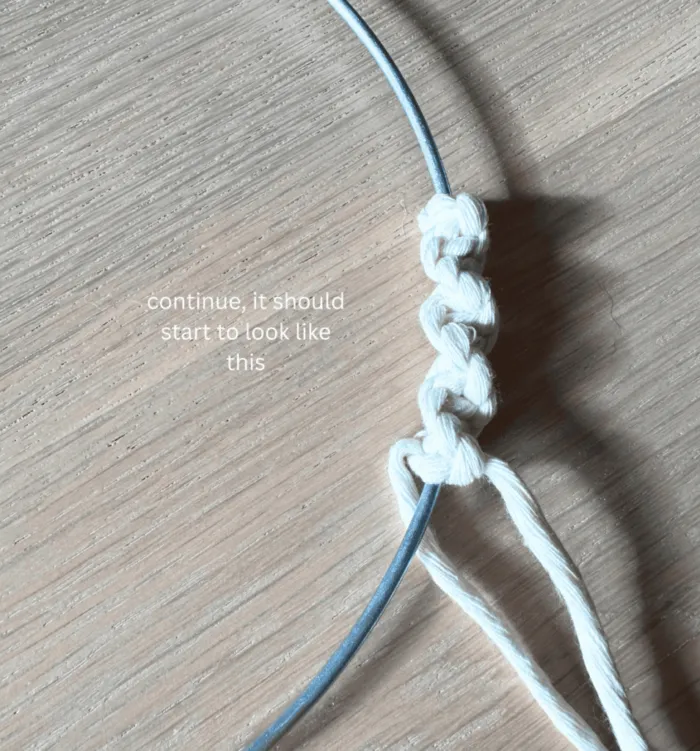
For a more defined spiral, gently twist the cords as you go. After every 4-5 knots, I push the spiral with my fingers to make it tighter which will make a huge difference in the look of your final piece. However, I like to keep the spirals tight to fully cover the metal hoop, ensuring no gaps. Try to keep the spacing between each spiral consistent for a cohesive look.
step 4: finish the knot
Once you’ve covered the entire hoop and reached your starting point, secure the spiral with an overhand knot using the remaining cord. Then, leave about 3.5 inches of cord, and tie another overhand knot at the end. This will serve as a loop for hanging the ornament.
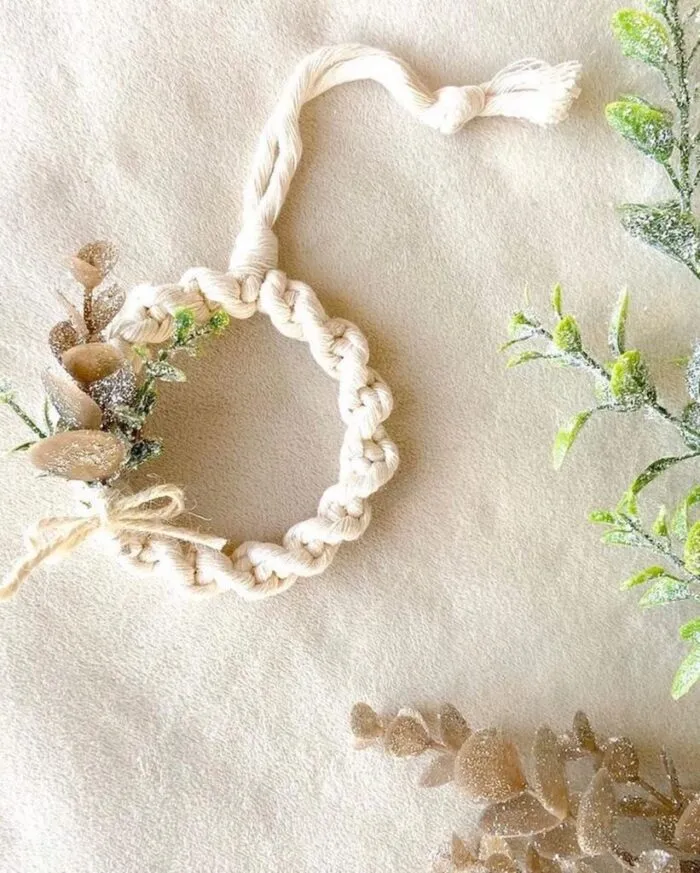
step 5: add floral accents to complete your diy macrame christmas ornament
Lastly, it’s time to decorate! So get creative with this part. You only need small pieces of faux floral, because you will cut small pieces to size with wire cutters. Use a glue gun to attach them to the wreath, arranging them however you like.
Here is a link to my Instagram video showing me attaching the faux arrangement on the ornament featured at the top of this post.
I hope you enjoyed this easy ornament DIY! It’s a great project for adding unique decorations to your tree or making handmade gifts for friends and family this holiday season. So, if you're interested in making other versions of these mini wreath ornaments, check out my other posts below for step-by-step guides!
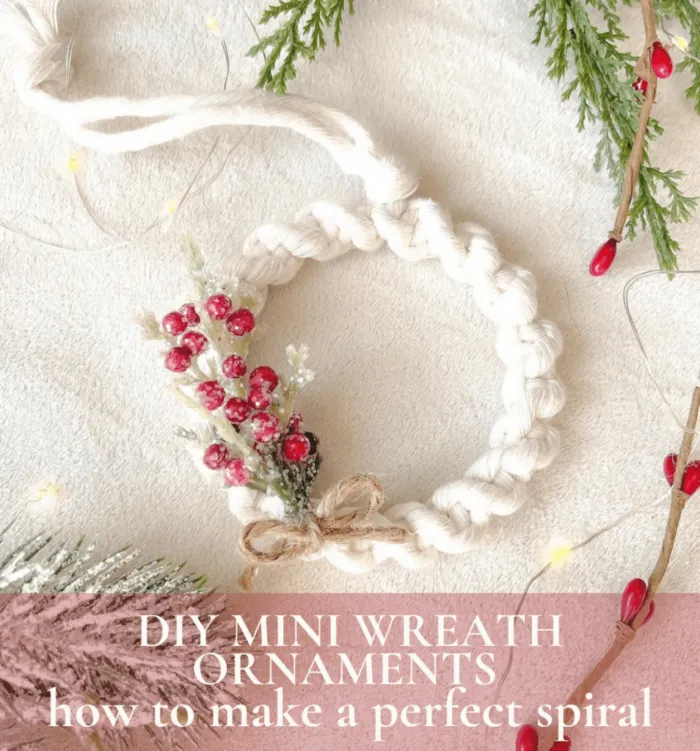
If you enjoyed this tutorial, pin it to pinterest!
Here is the link to my other blog post on how to make mini macrame christmas wreath ornaments with a half hitch knot!
