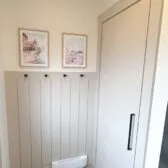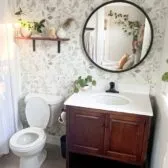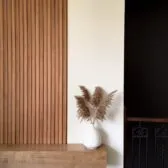
Looking to add a decorating panelling to your walls? Today, I’m sharing a step-by-step guide to make a modern wood panel accent wall you can easily DIY, complete with the materials and tools I used, so you can create your own stunning wood paneling wall!
Adding a wood paneling accent wall is an easy, cost-effective way to transform a space with a modern, contemporary feel. The natural warmth and texture of wood bring character to a room, making it both inviting and stylish. Wood paneling is incredibly versatile and pairs well with modern, rustic, or traditional interiors.
You can create these wood panels on your own by cutting strips of plywood, staining them and attaching them to the wall with even spacing but if you are looking for a quick and easier process, this guide is it!
When I set out to tackle this project, I had a clear vision in mind—and I couldn’t be happier with how it turned out.
tools and materials used for wood panel accent wall
materials
- Wood panels – Purchased at Home Depot (cost us $160 CAD for two packs)
- Then you will need Construction adhesive
- Lastly you will need a floating shelf – Custom-made by a woodworking friend (paid approximately $200 CADmfor the shelf)
tools
- Measuring tape
- Level
- Miter saw (or any saw suitable for precise cuts)
- 18-gauge nail gun with 1-inch nails
steps to diy wood panel accent wall you can do easily
step 1: plan out your design
You might be wondering, which wall should be my wood accent wall? You can add these interior wood panels or wooden walls to your living room, bedroom, or dining room. Typically you want your accent wall to be the first wall you see when you walk into a room. I have a board and batten accent wall in my living room as the main focal point but I have this half wall adjacent from it in my split-entry home and thought it was the perfect space for this accent wall.
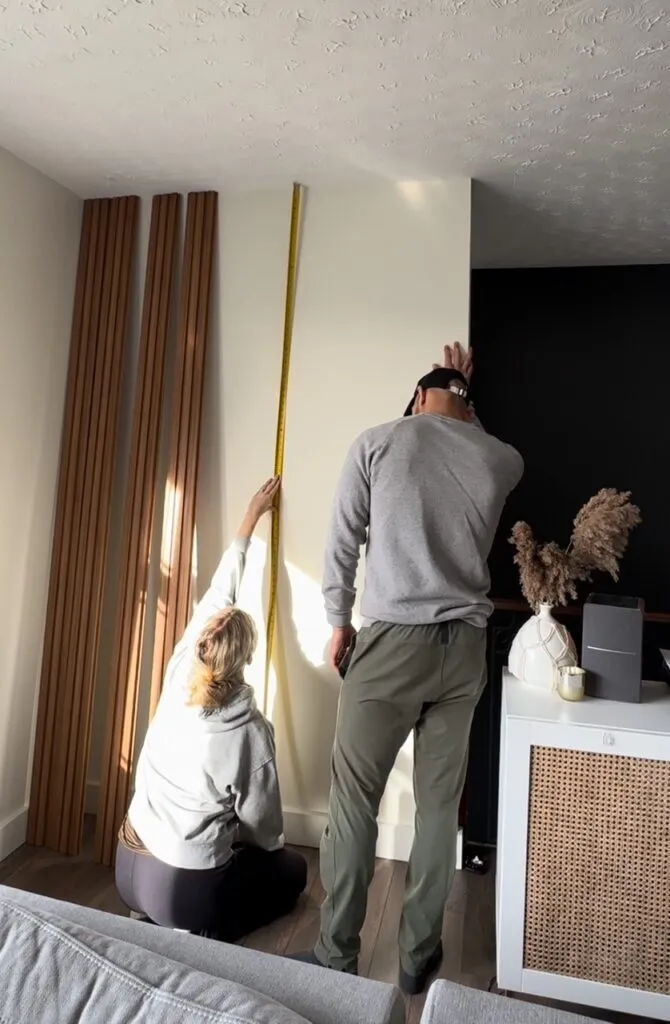
You want to start by visualizing your layout and then measure the wall and decide how you want the panels positioned—will they cover the entire wall, part of it, or perhaps be off-centered? I opted for an off-center layout to accommodate the floating shelf’s overhang and achieve a modern aesthetic.
Before committing, I leaned the panels against the wall in various configurations until I found the perfect arrangement. Ultimately, I decided to lay my panels over the existing trim instead of going floor-to-ceiling. Keeping the white trim created a nice break between the paneling and the floor, which complement the undertones of my flooring.
step 2: cut your panels to size
Using my miter saw, I cut the panels to size. Since my walls and ceiling weren’t perfectly level, I measured each panel individually to ensure a precise fit. Avoiding the need to cut panels lengthwise was another reason I chose not to cover the entire wall. Positioning the paneling in the center helped hide any irregularities.

step 3: attach your panels to the wall
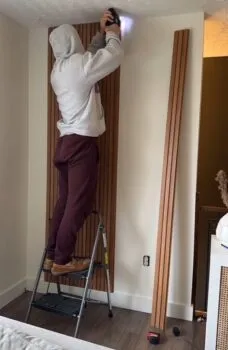
To install the panels, I applied construction adhesive to the back of each one, pressed it firmly against the wall, and secured it with nails using my nail gun. Thanks to their overlapping design, the panels were incredibly easy to install, and the level helped ensure every board was straight.


step 4: design and install floating shelf
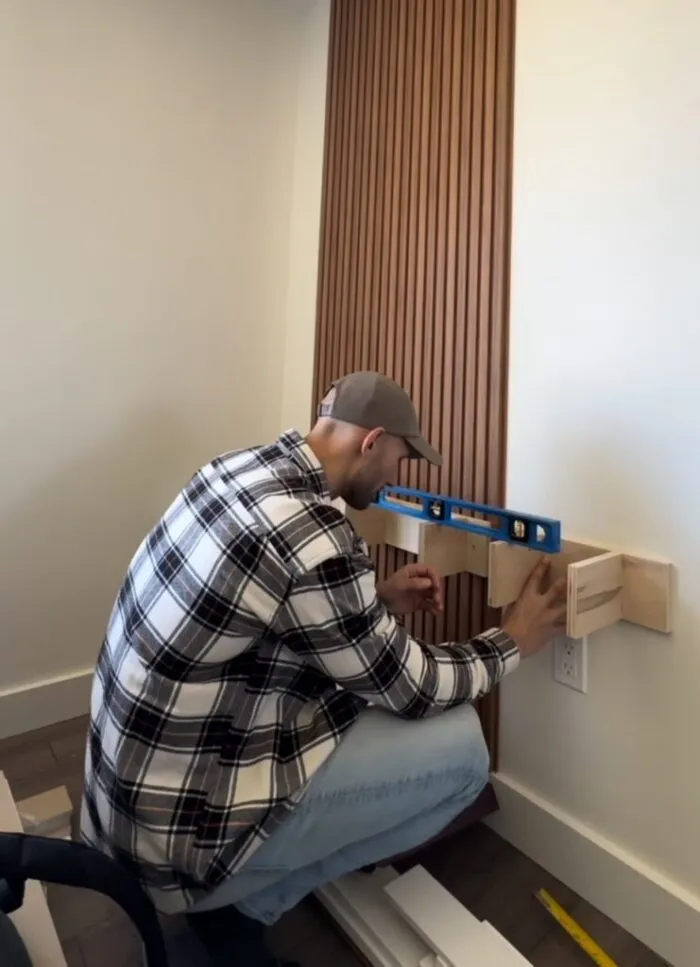
For the floating shelf, I had a woodworking friend build and stain it for me. I measured and decided on dimensions that complemented the paneling: 2 inches thick, 6 inches deep, and ___ inches long, with a 12-inch overhang on the left side.
To account for the paneling’s thickness, I asked my friend to notch the shelf’s base where it would attach to the wall. This ensured the shelf sat flush against both the panels and the wall.
Once the shelf was built, I attached it using two secure bases—one mounted to the panels and another to the wall. Both were screwed into studs for stability. The shelf easily slid onto the bases for a seamless look.
step 5: final touches for your diy wood panel accent wall
Surprisingly, I didn’t need to use caulk or wood filler. The adhesive and nails secured the panels tightly, and the nail gun left no visible marks. This saved time and effort, making the project even more beginner-friendly.
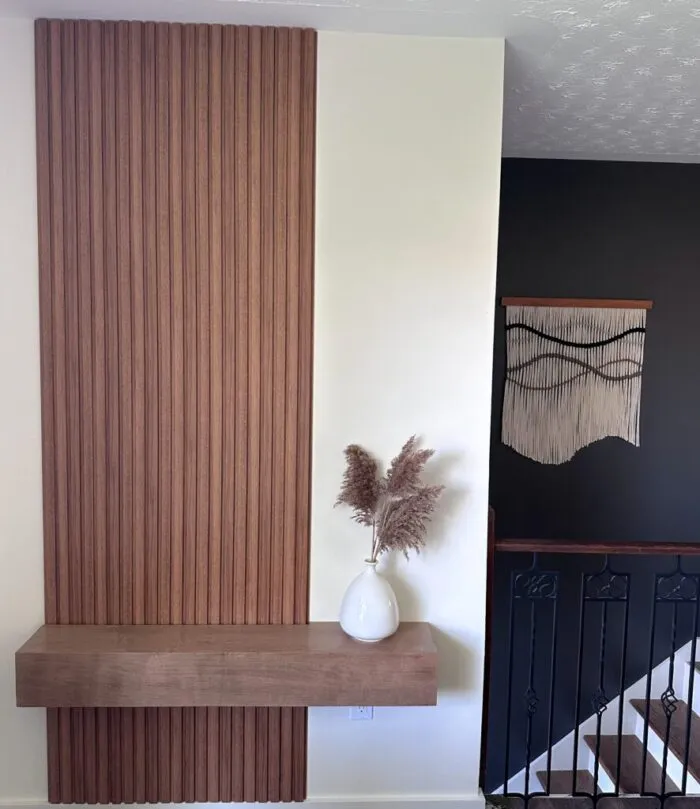
I’m thrilled with how this wood paneling accent wall turned out. For an awkward wall at the top of our split-level home, it brings a modern touch that ties our living room together beautifully. The floating shelf adds functionality while enhancing the wall’s visual appeal.
This simple, budget-friendly DIY project proves that you don’t need to be an expert to create something impactful.
conclusion
This modern wood panel accent wall is one of my favorite DIY projects to date. It not only elevated my space but also gave me a huge sense of accomplishment. Whether you’re tackling an awkward wall or looking to add character to a room, this project is the perfect solution.
If you have questions or need recommendations, let me know in the comments—I’d love to help. And if you’re inspired to create your own, tag me in your posts! I’d love to see how it turns out.
Pin this project to Pinterest for later!
Check out my blog post on how to DIY a Board and Batten Accent Wall where I walk you through how to make your measurements.


