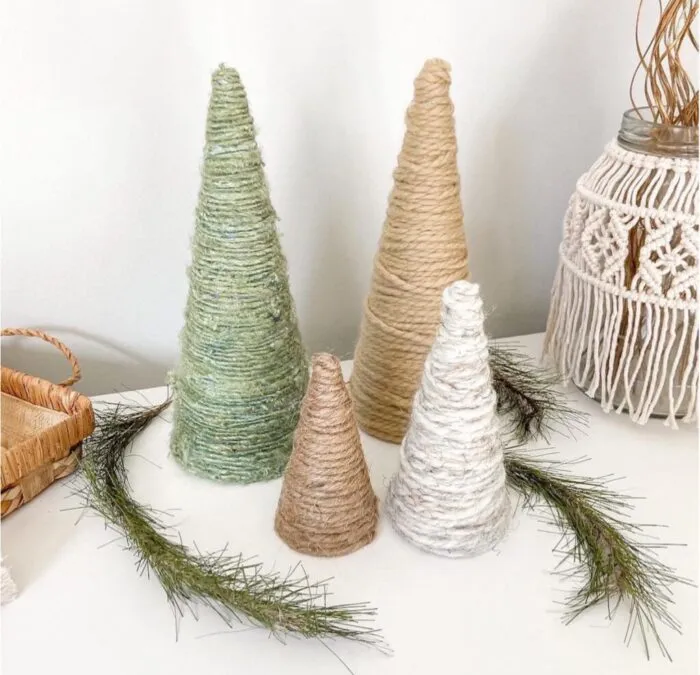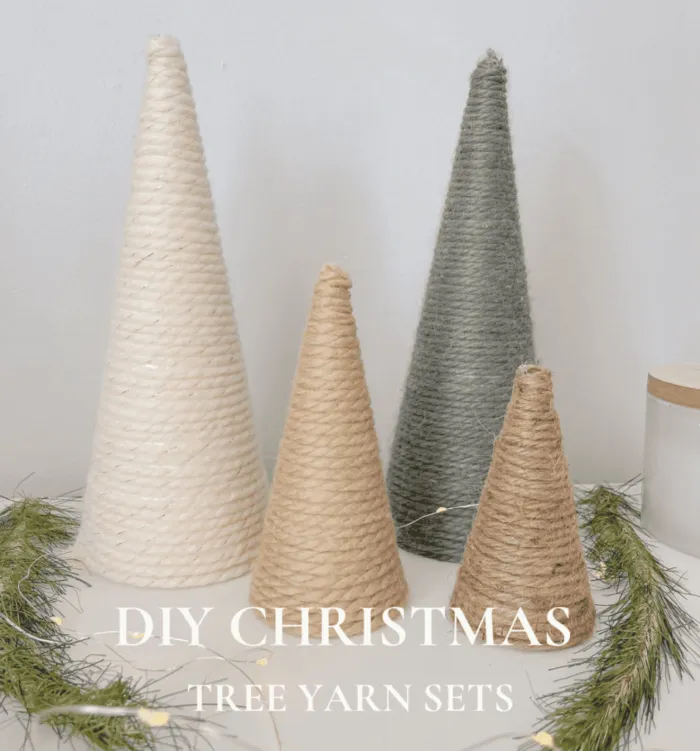
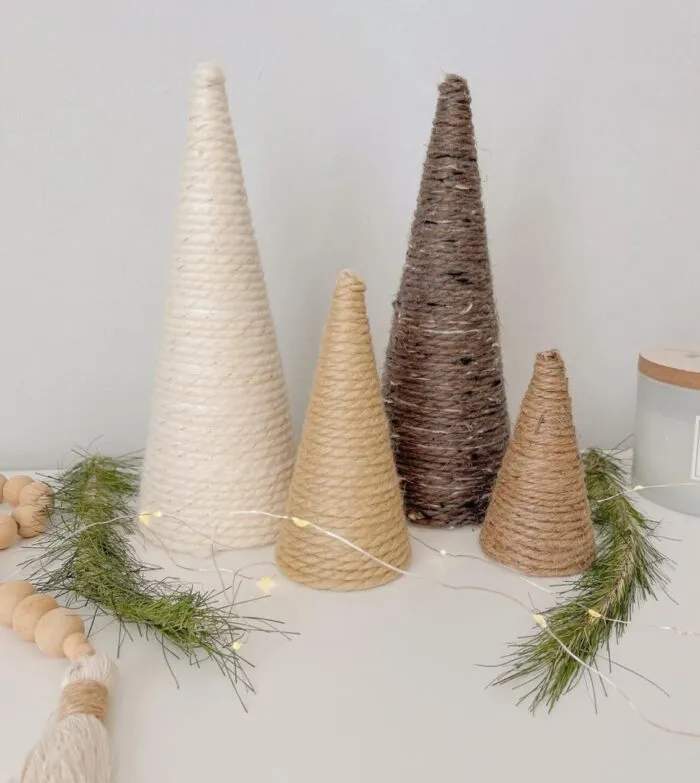
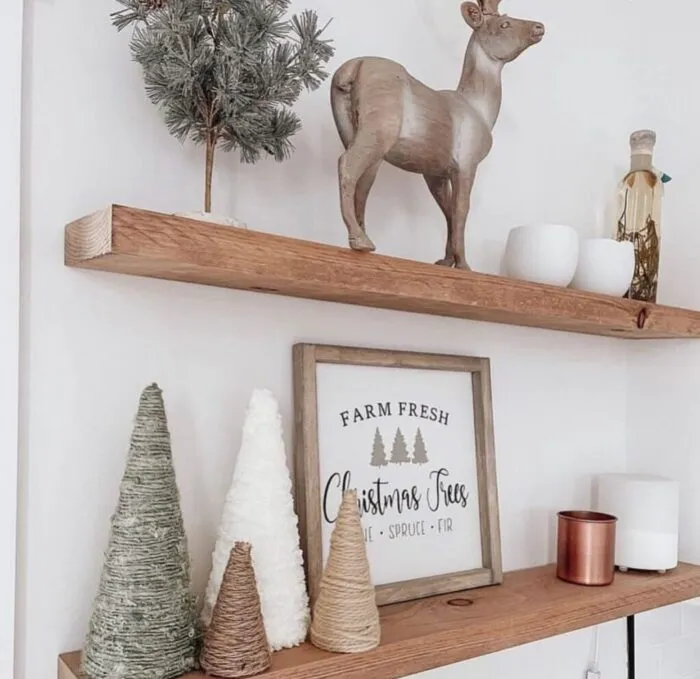
Tis the season for DIY! Today, I'm excited to share with you how to make these easy and charming DIY modern yarn Christmas tree sets! These festive decorations are quick to put together and completely customizable. They are perfect for a holiday craft with the kids, friends, or family. They are an affordable and budget friendly craft to decorate your home this holiday season or make for a perfect gift. You can choose different sizes of cones to add dimension, and mixing up yarn textures and colors makes for a beautiful display. Try using a variety of yarns, twines, or cords to create a truly unique look!
Supplies and Tools:
- Styrofoam cones OR if you cannot source these, use construction paper and tape to create cones
- Yarn of your choice- can use macrame cords, twine, fabric, yarn
- Glue gun
- Glue sticks
- Scissors
Here is a link to materials on Amazon. However, you may want to head to your local craft store or dollarstore to get the supples. If you are using twine I recommend getting a thicker twine.
Steps to creating diy yarn christmas tree sets
Set your glue gun to a low temperature. High heat can melt or damage the Styrofoam, so a low setting is perfect for this project.
Tip: You do not need a ton of glue. If you put it on too thick it will seep through the yarn and when the glue dries you will see it. Less is more! Seriously, I use a very small amount and drag my glue gun up and down in small sections to create a sort of waves like an S. The yarn does not need much to stick.
Begin at the tip of the cone by adding a small dab of glue and securing the end of your yarn. Work in small sections, as the glue dries quickly.
Apply a thin line of glue about an inch or two at a time and wrap the yarn around the cone. You have two options for wrapping: for a cozy, layered look, let the yarn overlap slightly. Or, for a neat, clean appearance, wrap the yarn tightly in a single line, pressing each row snugly together with your fingers to prevent gaps.
Here is how I recommend wrapping (in small sections)


Continue wrapping until you reach the base of the cone, securing the yarn with a final dab of glue and cutting with scissors. These yarn Christmas trees come together in minutes and look stunning as a set!
steps to creating construction paper cones (instead of styrofoam)
To create a tree cone with construction paper, start by laying the paper flat and drawing a large quarter-circle shape on it. You can use a compass to make a smooth curve or measure from a corner to mark it out.
Cut along the curved line to create your piece for the cone. Next, roll the quarter-circle into a cone shape by bringing the two straight edges together. Then, adjusting the size by rolling tighter or looser until you achieve the desired shape. Once you're happy with it, secure the cone by taping or gluing along the overlapping edge, holding it in place if you’re using glue until it sticks.
Finally, if the base is uneven, trim the bottom edge with scissors so the cone stands flat. Your construction paper cone is now ready for decorating!
Happy crafting, and enjoy decorating with your own handmade holiday trees!
Loved this project? Let’s stay connected!
If you found this DIY guide to making yarn Christmas tree sets helpful, don’t forget to save it for later by pinning it to your favorite Pinterest board! 📌 It’s the easiest way to come back when you’re ready to tackle this project.
Want more inspiration?
Sign up for my newsletter and get exclusive step-by-step guides, budget-friendly home ideas, and my favorite product recommendations delivered straight to your inbox. Plus, you’ll be the first to know about new DIY projects!
Check out my other blog post on how to create Adorable DIY Macrame Christmas Ornament You Can Easily Make
