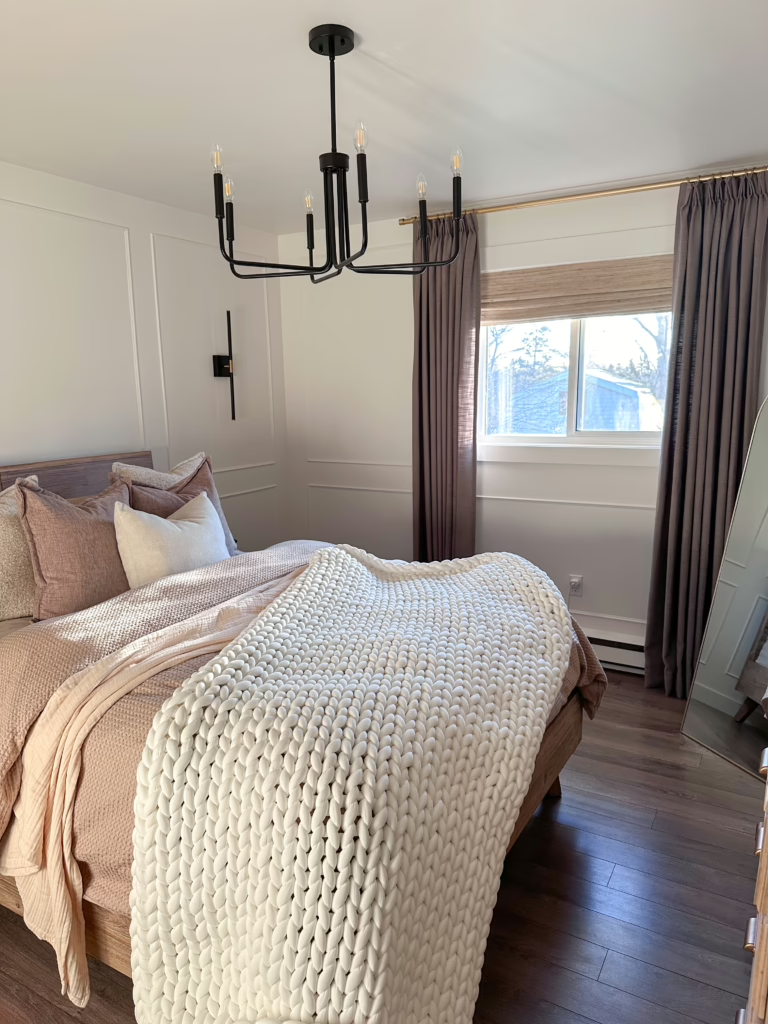
Adding box wall molding to your bedroom walls is a fantastic way to transform the look of your space. Also known as wall trim molding, this DIY wall molding project can make your walls feel less empty and add a modern, customized feel to the room. So, with the right planning and tools, it’s a project that anyone can tackle. You don't even need any power tools to do this!
Box molding add character and depth to your walls, creating a defined, finished look. They’re highly versatile, allowing you to match them to various design styles. Whether you prefer a traditional or modern aesthetic, wall trim molding can be tailored to your vision. By blending the panels with your wall color, you create a seamless design that makes the room feel cohesive and intentional. So let's get into it!
youtube video
If you prefer to watch my detailed YouTube video on the DIY Picture Frame Molding Project you can check it out here!
DIY Wall Molding: Planning Your Layout
Planning is the most critical part of the project. Before you start cutting and nailing, take time to determine the layout and dimensions of your moldings. Here are some styles and options to consider:
- Symmetrical: Equal-sized rectangles placed evenly across the wall.
- Asymmetrical: Mixing small and large panels for a contemporary look.
- Small boxes at the Bottom: Adding a smaller box beneath the larger ones creates a layered, dimensional effect.
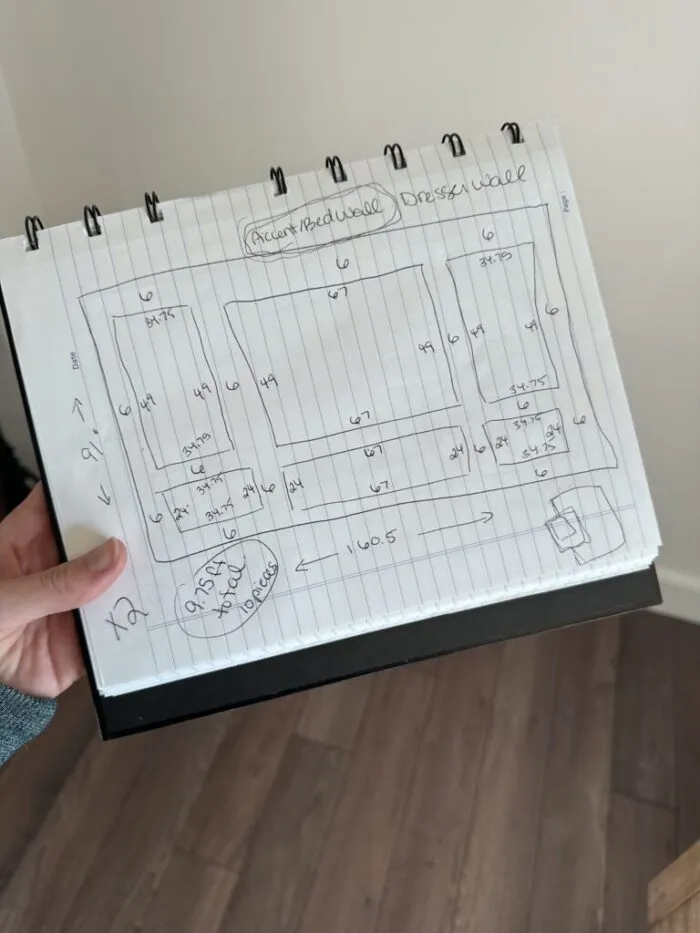
For my project, I chose asymmetrical with a combination of small and large boxes. This gave the wall a more dynamic, contemporary look while maintaining balance and flow.
Here are the key measurements to guide your planning:
- Base Molding to Ceiling: Measure from the top of your base molding to the ceiling to determine your wall height. My walls were 96 inches tall.
- Bottom Box Height: The average height for a bottom box is around 24 inches.
- Spacing Between boxes: I left 6 inches of space between each box and from the edges of the wall.
how to measure for a diy wall molding (box molding)
- Start with Spacing: You will need to decide how far apart you want each box. I marked 6-inch gaps as a starting point.
- Calculate Box Dimensions: Work backwards from your spacing to determine the height and width of each box. Ensure consistency in your measurements for a balanced look.
- Mark Your Lines: Use a pencil and level to draw the layout on the wall before cutting or attaching anything. This step ensures your design looks right before committing.
My center box is 67 inches wide which is slightly wider than my queen size bedframe. Having my new nightstands centred with the outside boxes does mean they are a bit further away from the bed. However, I got a wider nightstand so that this was less of a problem. This is worth noting if this is a conern for you. I did not think of this until after everything was done. Perhaps you would rather only 4 inches between your boxes or for your centre box to be shorter.
Again, the planning is key! See below how I mapped mine out ahead of time.
tools and materials
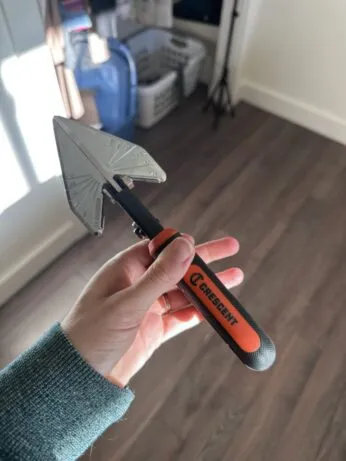
- Miter shears (for precise cuts)
- Nail gun and 1-inch nails
- Level
- Measuring tape
- Wood filler
- Hammer (for tapping in any protruding nails)
- Caulk and caulking gun
- Spring Tool (optional)
- Sandpaper (220 grit)
- Primer
- Paint (in the same color as your walls)
- Decorative molding
Links to all tools listed above other than decorative molding here (I get paid a small commission when purchased through the links)
Installing DIY Wall Molding
step 1: cut the trim
Use miter shears to cut your decorative trim pieces at 45-degree angles for clean corners. Measure twice to avoid mistakes. You could use a miter saw but it was so easy to use the miter shears. I could make all of the cuts right in my bedroom with no mess. I highly recommend.
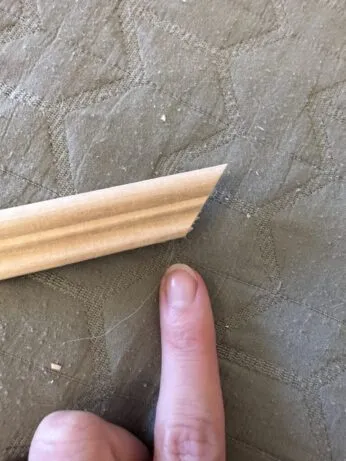
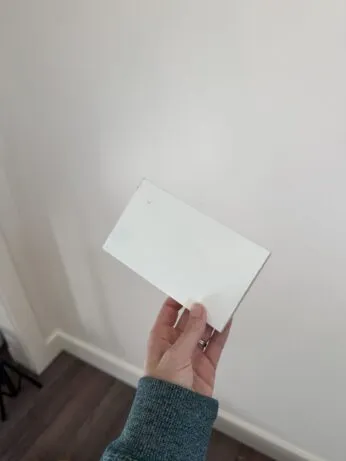
Now, for this step you need to think about what direction you are cutting the angle on because you need each end to meet at a 45 degree angle. To ensure it lines up correctly you need to stay consistent with each cut. For me, I remembered that I always needed to have the wider decorative side of the trim to be the long end- furthest point and the side with the smaller details is the shortest point.
See my image below. At first this will make your brain think but after a handful of cuts it will be easy. Just hold each piece up as if you are connecting to the next and visualize which direction you need to make your cut if you are struggling to figure it out.
step 2: attach the trim to the wall
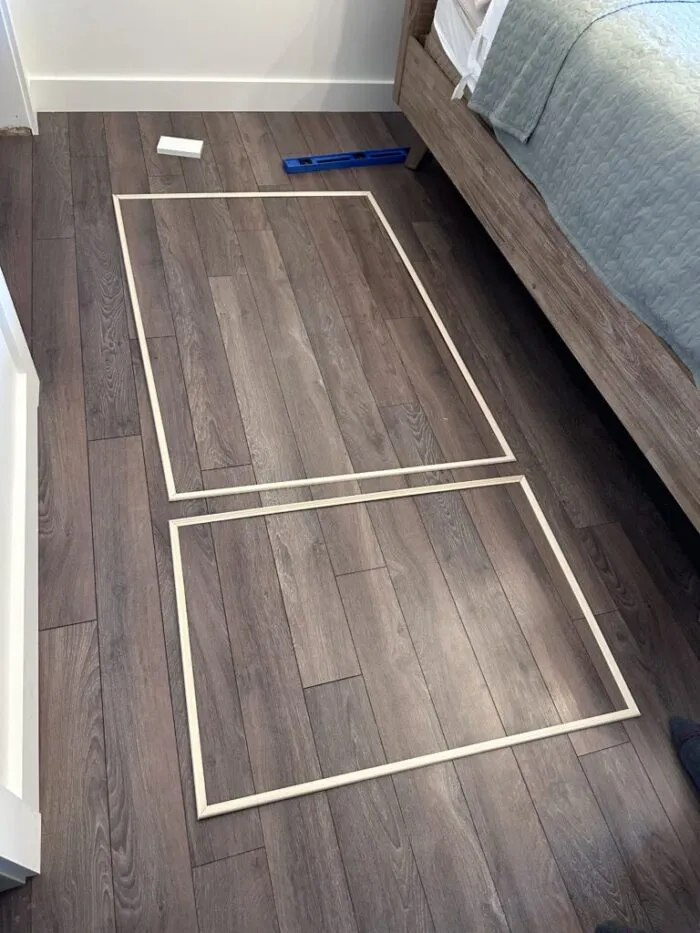
Before I attached my first box to the wall, I laid them out on the floor to get a visual and to ensure all my cuts lined up properly at the corners and my lengths were accurate.
Then I cut a scrap piece of wood to 6 inches as a template to measure from my wall or ceiling to the decorative trim. This was helpful as a starting point but because my home is old my walls are not straight and level so I always used it as a starting point and then used my level to ensure it was straight.
This means that it might not be exactly 6 inches from the corner of the wall to your box molding from top to bottom but that is okay, you want to ensure it is level! That is the most important.
If you have a laser level, that would really speed up this process and be so much easier but we did not have one. An investment we will make soon!
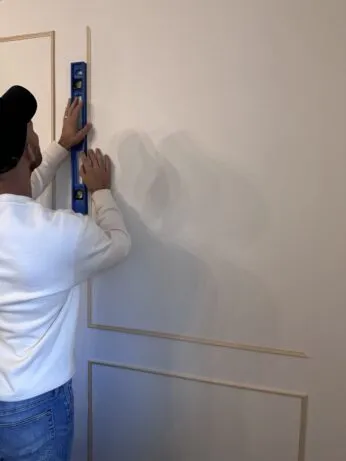
You will start with the outer edges of each box, use a nail gun to secure the trim to the wall. You will want to check the level frequently so that you ensure your boxes are straight.
Sometimes we would have a nail that would not go all the way in. Do not worry, you can fix that easily with this spring tool here! We used this to gently punch any nails sticking out all the way in.
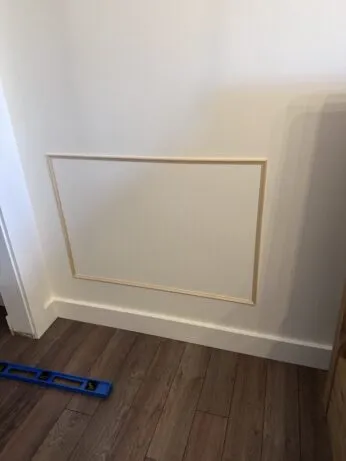
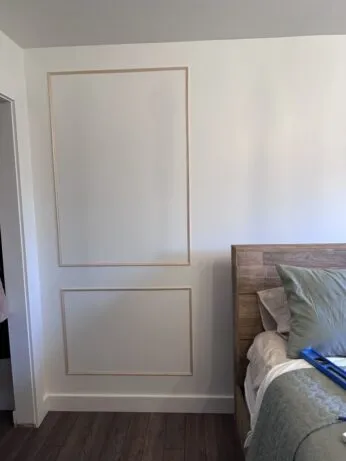
step 3: fill the nail holes
The next thing you wan to do is apply wood filler so that you can cover nail holes and any small gaps in the corners. I recommend using yout finger to fill the nail holes and then immediately go over it a damp cloth. This will remove a lot of the excess filler so that you barely have to sand anything when it is dry as it will remove everything other than what is in the hole! Once dry, smooth with 220 grit sandpaper.
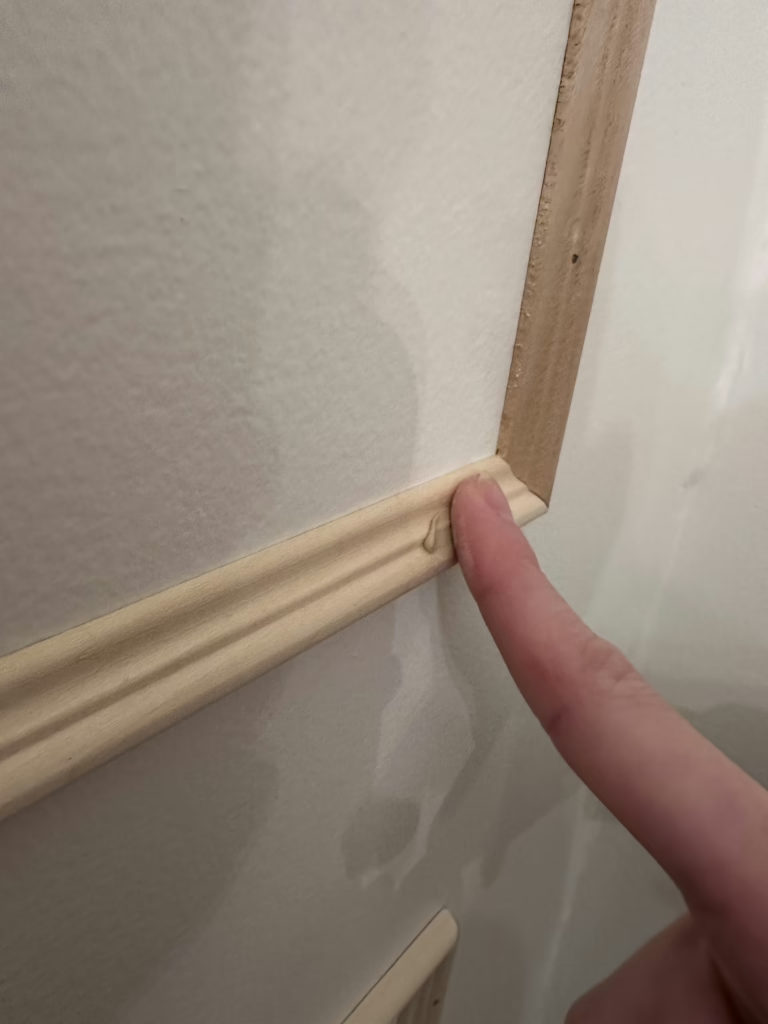
step 4: caulk the seams
Run a thin bead of caulk along ALL the seams. Immediately after applying the caulk, take a damp piece of paper towel or wet your finger and run over it to smooth it out.
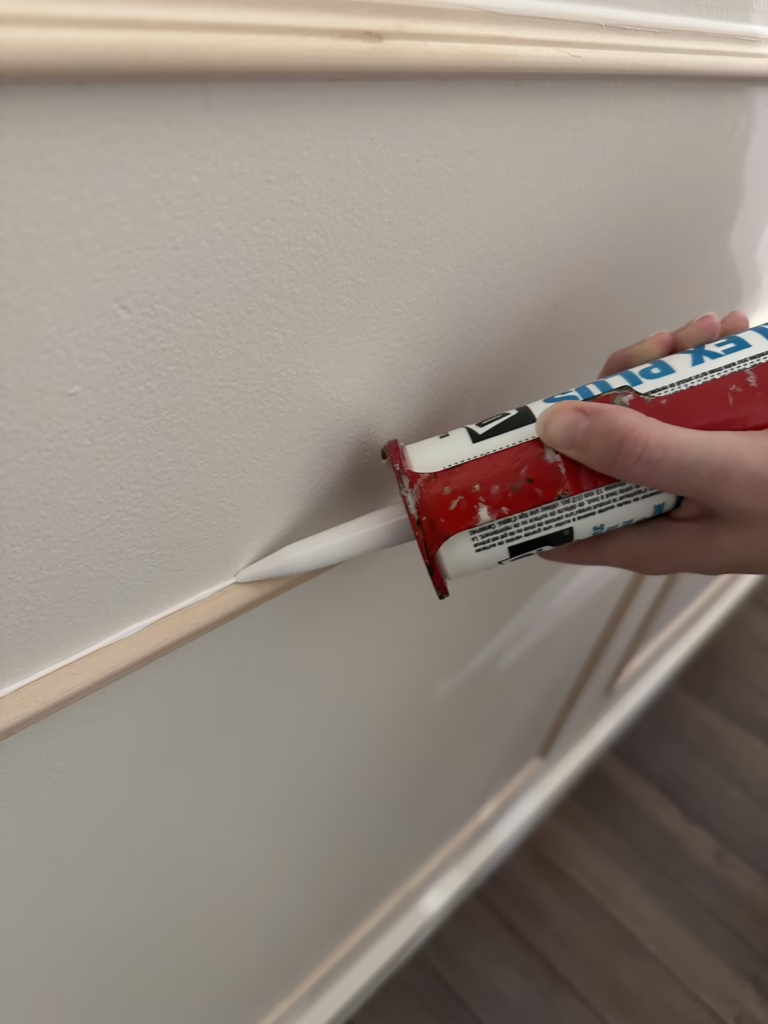
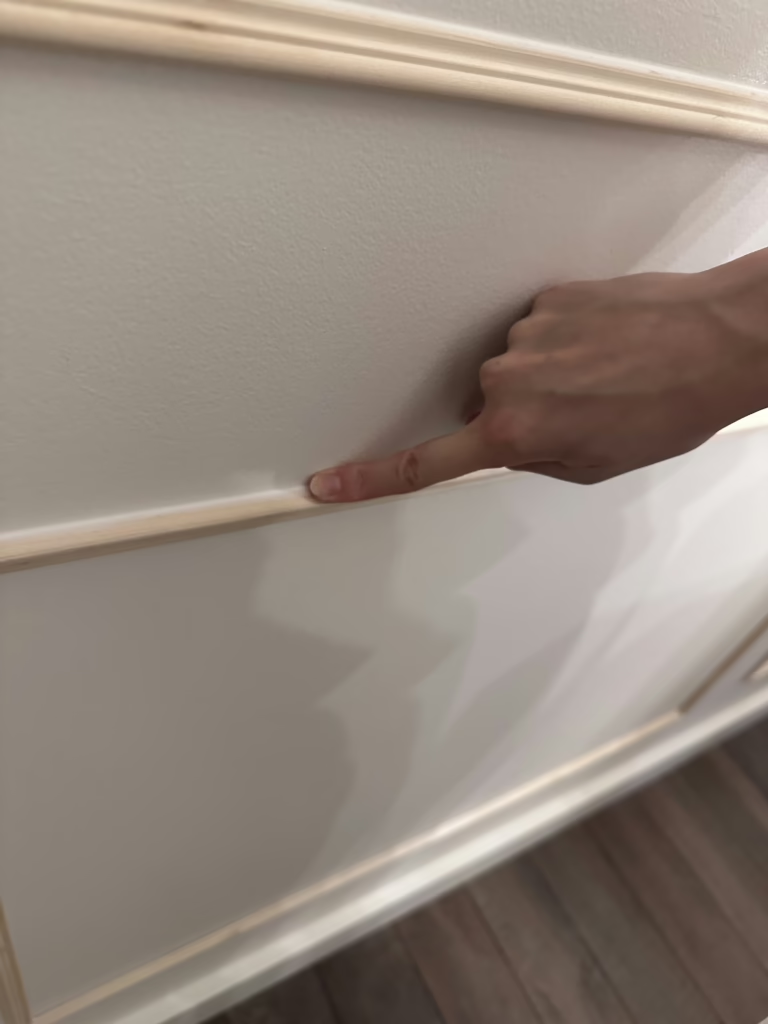
Don’t worry if your 45-degree angles aren’t perfect because caulk will hide any imperfections beautifully. Sharing a video below on how I fill in the corners with caulking. I wipe a bunch on with my fingers and ensure all of the cracks and gaps are filled. Then, I take a wet piece of paper towel and remove all of the excess.
TIP: Always remember, you can paint over caulking but you cannot sand it. You can only sand wood filler. This is why you do not fill your holes with caulking as you cannot sand the excess away. You want to use caulk in the seems because it would be too hard to sand the corners, you would damage the decorative design.
step 5: prime and paint
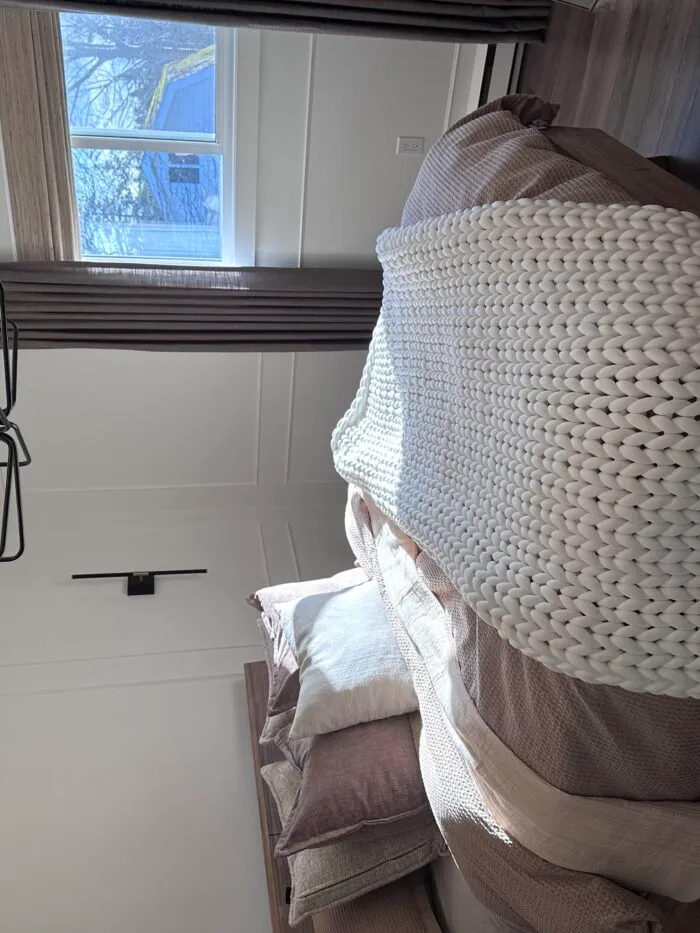
Always prime the molding before painting to ensure the paint adheres evenly. Use the same color paint as your walls to create a cohesive, blended look. Lastly, apply two coats for best results, allowing ample drying time between layers.
Common Questions About Box diy wall Molding Panels
1. How do I figure out the best layout for my DIY wall molding?
The trick is to plan your spacing first. Decide how far apart you want the boxes and mark those measurements on the wall. Then, calculate the box dimensions based on the remaining space. Use painter’s tape to outline your design before attaching any trim to visualize the final result. Take into account the size of your bed, where you want your nightstands if you plan to center them in the boxes, how far away from your bed will they be?
2. What if my angles aren’t perfect for diy wall molding?
Don’t stress! Caulk is your best friend. It fills gaps and smooths imperfections, so even if your cuts aren’t exact, the finished look will still look flawless. I explain in step 4 some tips here.
3. Do I need to paint the molding a different color than my wall?
For the best results, paint the molding the same color as your walls. This creates a seamless look where the molding appears as part of the wall rather than a separate element. Be sure to prime first!
4. How long does a diy wall molding project take?
Depending on the size of your room and your experience level, this project can take a weekend to complete. The planning and marking stages are the most time-consuming, so don’t rush through them. I broke this up over a few week nights and a weekend!
final thoughts
DIY wall molding, also known as wall trim molding, are a beautiful way to add character and depth to any room. With careful planning and attention to detail, you can achieve a high-end look without hiring a professional. Remember to take your time during the planning stage and don’t skip priming before painting.
Have you tried adding wall moldings to your home? Share your experience or questions in the comments below. For more DIY inspiration, check out my other guide: Modern Wood Panel Accent Wall You Can Easily DIY
Loved this project? Let’s stay connected!
If you found this DIY guide helpful, don’t forget to save it for later by pinning it to your favorite Pinterest board! 📌 It’s the easiest way to come back when you’re ready to tackle this project.
Want more inspiration?
Sign up for my newsletter and get exclusive step-by-step guides, budget-friendly home ideas, and my favorite product recommendations delivered straight to your inbox. Plus, you’ll be the first to know about new DIY projects!


