
Have you ever walked into a beautifully updated home, only for your eye to catch something small—but glaringly out of place? Often, it’s the dated, yellowing light switches and outlets that stick out like a sore thumb. These overlooked fixtures can instantly drag down the aesthetic of an otherwise modernized space. The good news? To replace electrical outlet and switches is one of the easiest, most budget-friendly DIY projects you can take on—and the impact is huge.
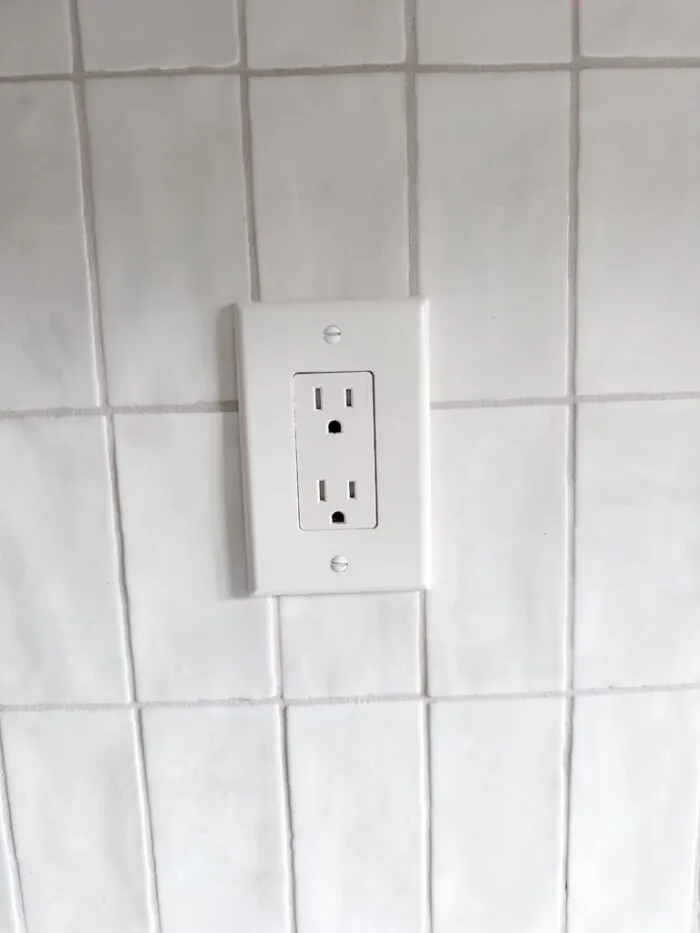
With a little effort, you can elevate your home’s interior, bringing every detail into harmony. Below, I’ll walk you through how I replaced my own outdated outlets and switches in just a few minutes, giving my home that polished, cohesive look—all without breaking the bank.
What you will need to replace electrical outlet
- Multi-bit screwdriver
- Non-contact voltage tester (affordable option here)
- Pliers
- New outlets and/or switches
- Cover plates
why a voltage tester is non-negotiable
If you’re a DIY enthusiast, a non-contact voltage tester is a must-have. Not only is it inexpensive (less than $20), but it’s also critical for ensuring safety when working on any electrical project. This simple tool helps confirm that power is off before you start, making your DIY process safer and stress-free.
step 1: isolate the power to replace electrical outlet
Start by turning off the power to the specific outlet or switch you’ll be replacing. Locate your home’s breaker box (ideally, it’s labeled) and switch off the appropriate circuit breaker. Not labeled? Use trial and error: plug in a lamp or phone charger to test the outlet, or keep the light switch on, then flip breakers until the power cuts out.
If you’re unsure which breaker to turn off, you can switch off the main breaker to cut power to the entire home.
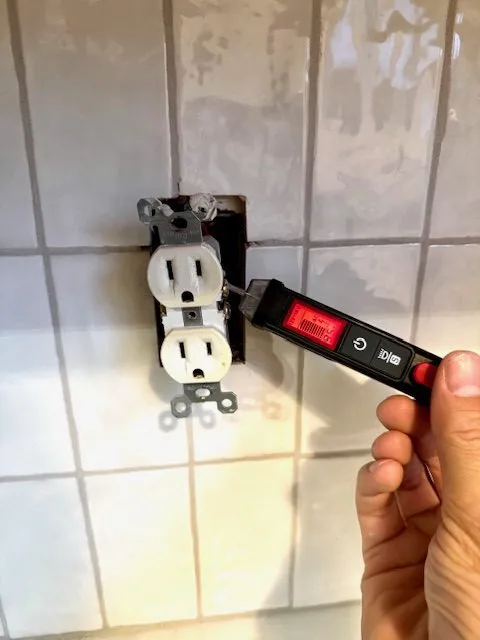
step 2: confirm the power is turned off
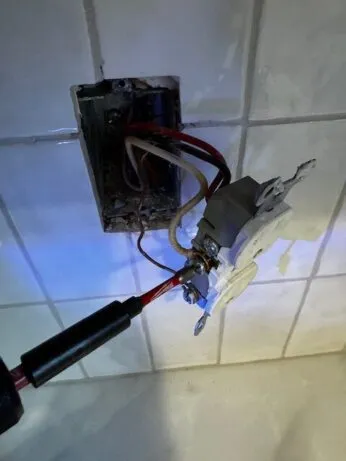
Once the breaker is off, double-check that no electricity is flowing. For outlets, plug in a lamp or phone charger—neither should work. Then use your voltage tester: place the probe into each outlet slot or near the screws of a switch. The tester will confirm whether electricity is present. If the tester signals any voltage, stop and recheck your breaker settings.
step 3: remove the old outlet or switch
With the power off, remove the old cover plate using a screwdriver. Before proceeding, test the outlet or switch box again with your voltage tester to ensure no current is present.
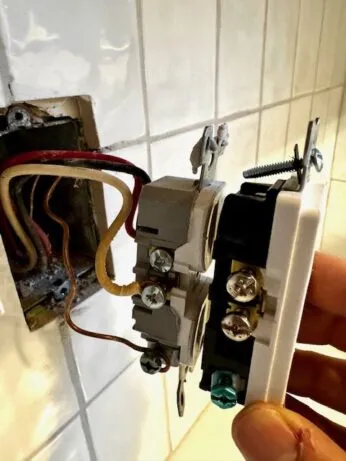
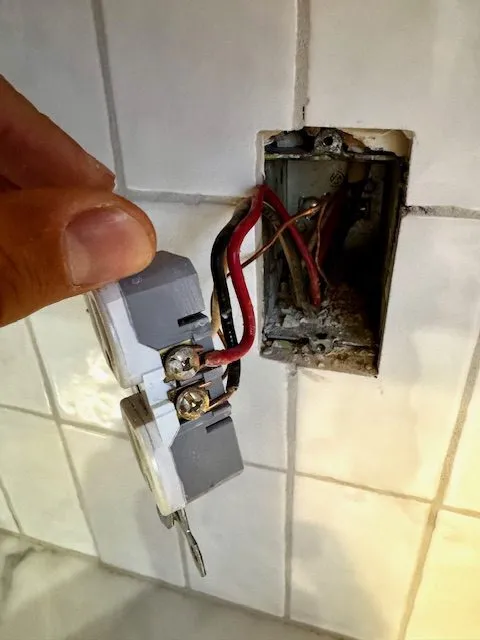
Next, remove the screws securing the outlet or switch to the electrical box. Gently pull the unit out to access the wiring.
Pro Tip: Take a clear photo of the existing wiring setup. Pay close attention to the color of the wires and where they’re connected. Generally:
- Black wire: Live (hot) wire, connected to brass screws.
- White wire: Neutral wire, connected to silver screws.
- Bare copper wire: Grounding wire, connected to green screws.
If you see additional wires, the outlet might be part of a “middle run” that connects to other outlets. Your photo will help ensure you wire the new unit correctly.
Finally, loosen the screws and detach the wires from the old outlet or switch.
step 4: test the new outlet or switch
Using your reference photo, connect the wires to the new outlet or switch in the same configuration. Needle-nose pliers make it easy to loop wires around the mounting screws for a secure connection.
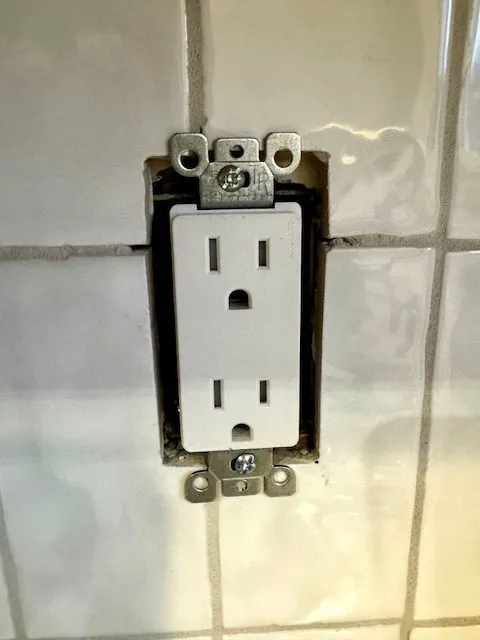
Carefully push the wired outlet or switch back into the box, ensuring no wires are pinched or disconnected. Align the unit with the screw holes and tighten it into place, making sure it’s straight.
Once secured, attach the new cover plate. Return to the breaker box and switch the power back on.
Test Your Work
Plug in a lamp or charger to confirm the outlet works, or turn the light switch on to ensure the connected light illuminates. If everything functions as expected, you’re done!
conclusion to replace electrical outlet
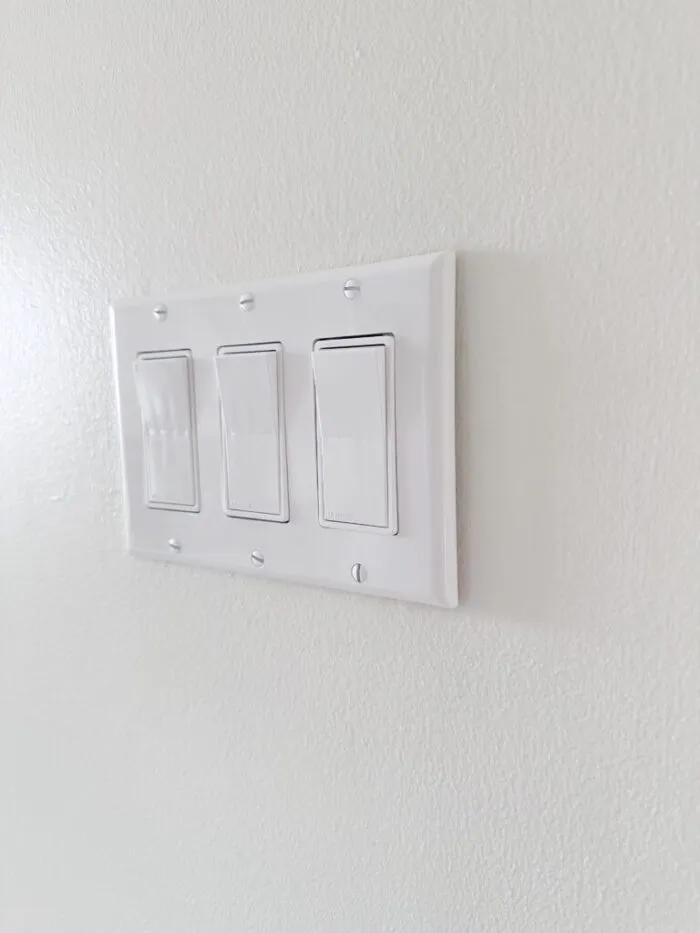
Replacing your home’s outlets and light switches is an often-overlooked but transformative project. This simple upgrade can refresh your space, adding a sleek and cohesive finishing touch to your interior.
With this guide, you now have the tools and know-how to confidently tackle this beginner-friendly project. Always prioritize safety by switching off breakers and confirming power with a voltage tester. And remember, if you’re ever uncertain, consult a professional electrician.
Sometimes, the smallest changes make the biggest difference—so don’t let those dated fixtures hold your home back.
Loved this project? Let’s stay connected!
If you found this DIY guide helpful, don’t forget to save it for later by pinning it to your favorite Pinterest board! 📌 It’s the easiest way to come back when you’re ready to tackle this project.
Want more inspiration?
Sign up for my newsletter and get exclusive step-by-step guides, budget-friendly home ideas, and my favorite product recommendations delivered straight to your inbox. Plus, you’ll be the first to know about new projects!
Check out my post 4 Easy Ways On How To Make Your Home Look Modern Today