Painting your exterior doors is a great way to add charm and character to your home. In this post, I’ll cover the best paint for exterior metal door painting projects and guide you through the steps to ensure your paint adheres properly and lasts for years, along with some tips and tricks I’ve learned from my own experience. So let's dive into the steps to painting your exterior door for a lasting finish!
You might be wondering: Do I need to remove my exterior door to paint it? Or, how do I paint my exterior door without removing it? The answer is NO, you not need to remove your exterior door. You can tape the hinges and even tape around the door handle to paint it. I have painted 6 doors, some interior, some exterior, and have never removed them to paint.
I have however removed the door handles. Personally, I think it provides a more professional finish to remove the handle, paint, and reinstall.
the best paint for exterior metal door
If you are looking to paint your exterior metal or fiberglass door I highly recommend you paint with the Emeral Urethane Trim Enamel by Sherwin-Williams. It is the best paint I have yet to use. It works for both indoor and outdoor projects alike. This paint offers a smooth, durable finish that mimics the look of factory-applied coatings, making it perfect for achieving a professional-grade result at home.
Its advanced formula resists wear, chipping, and stains, ensuring your hard work stands the test of time. Plus, it self-levels beautifully, which minimizes brush strokes and roller marks. If you're aiming for a flawless, long-lasting finish, this is the paint to trust for your next project!
Tools You’ll Need:
- 120 and 220 grit sandpaper
- Magic Eraser or cleaner (I like Spray 9 or TSP Alternative by Fusion)
- Painter’s tape
- X-Acto knife
- Paint brush and roller
- Paper (to protect surrounding areas)
- Extreme Bond Primer by Sherwin Williams
- Emerald Urethane Trim Enamel by Sherwin Williams
step 1: prep your exterior door
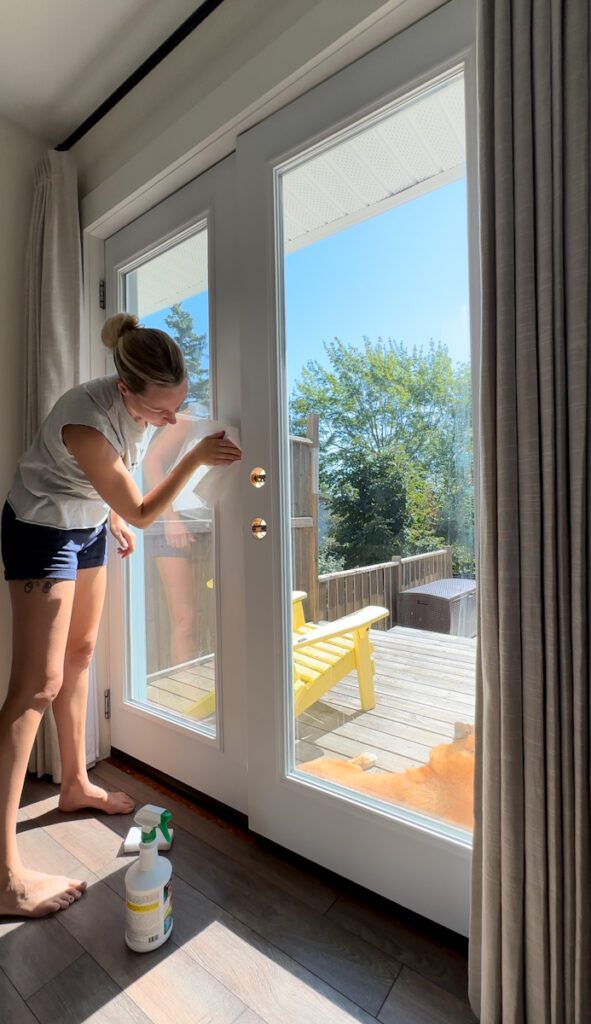
If there’s one thing that can’t be stressed enough, it’s the importance of prep work. Prepping ensures a professional finish and, most importantly, helps the paint adhere to the surface properly, preventing chips and peeling over time.
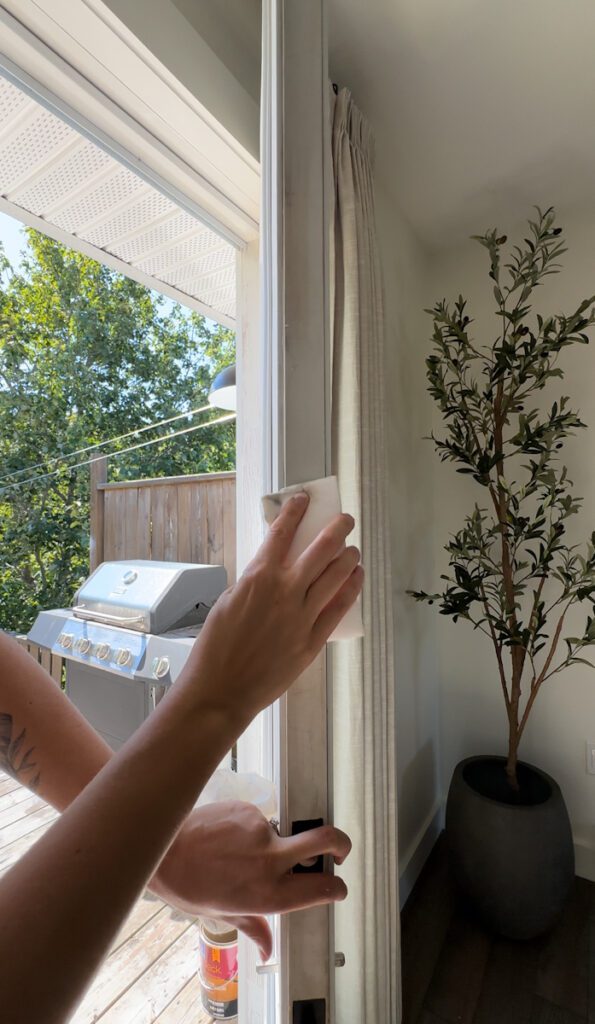
Start by thoroughly cleaning the door to remove dirt, scuffs, and grease. I recommend using a Magic Eraser, followed by a cleaner like Spray 9 or TSP Alternative. After cleaning, use sandpaper (120-220 grit) to lightly scuff the surface, creating a texture for the paint to grip. Be sure to wipe the door down afterward to remove any dust.
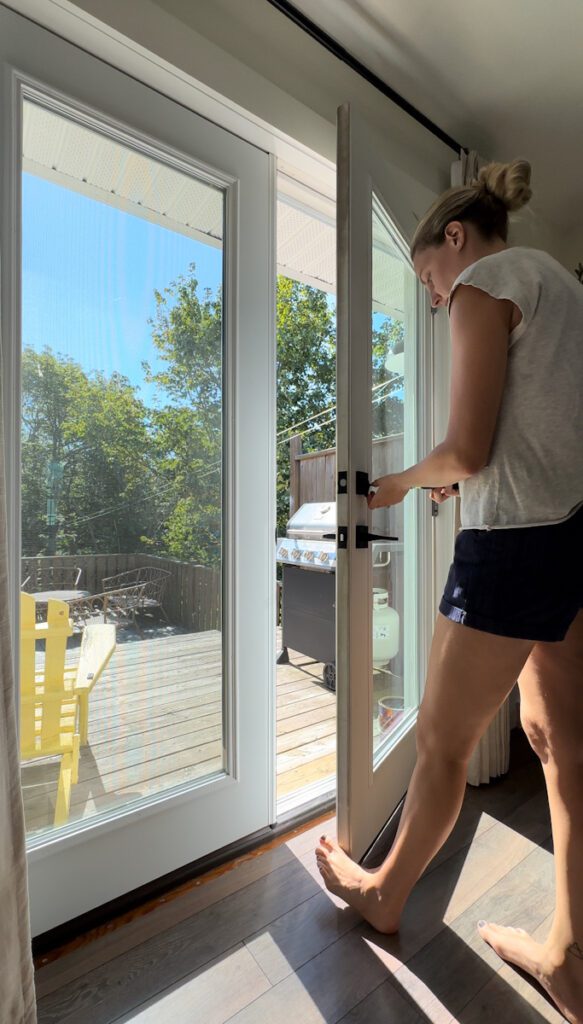
Even if your door has been previously painted, it’s still essential to clean and scuff the surface before applying new paint. While you can remove the door from its hinges, I prefer to tape off the hinges and remove just the hardware (though you can tape off the hardware as well).
step 2: prime your exterior door
If your door has already been painted with water-based paint and you’re applying the same type, you might not need primer unless the previous paint job was poorly done. If that’s the case, sand off as much of the old paint as possible before priming.
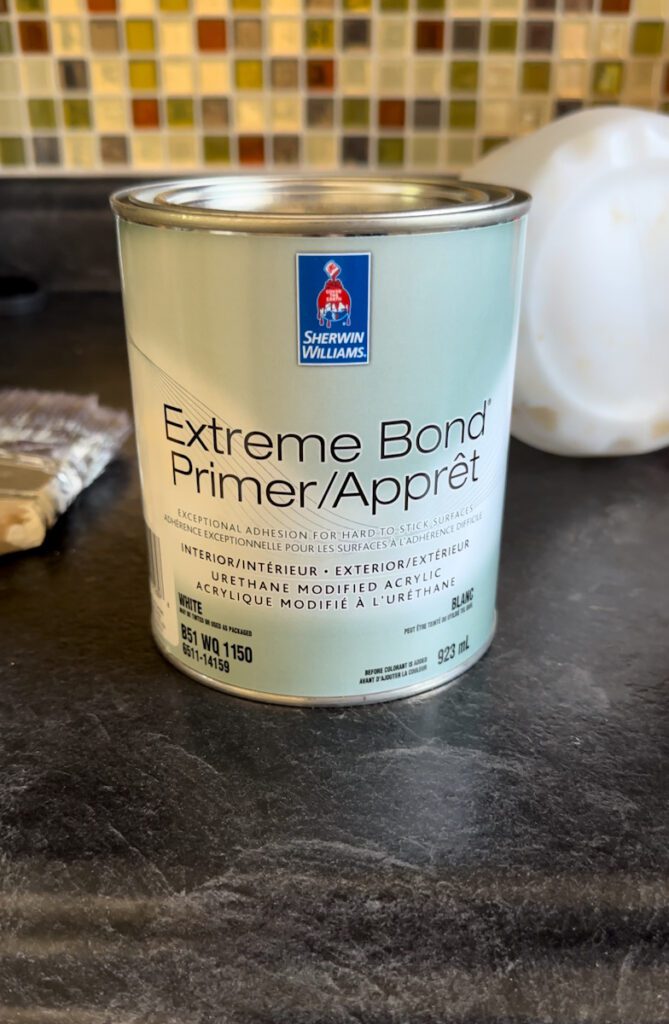
For unpainted doors, priming is essential. My go-to primer for this type of project is Extreme Bond by Sherwin Williams. I am also a big fan of BIN primer for many projects. If you have this at home, this would be a great option as well.
Use a paint brush for small or detailed areas and a roller for a smoother finish wherever possible. One coat of primer is usually sufficient, but 2 coats never heart either. Make sure to wait 24 hours before moving on to the paint. Using high quality primer is key to long lasting finish.
step 3: painting your exterior door
While sanding between coats is optional, it’s key to achieving a smooth, professional finish. Use 220 grit sandpaper to lightly sand the primer coat, then wipe away the dust.
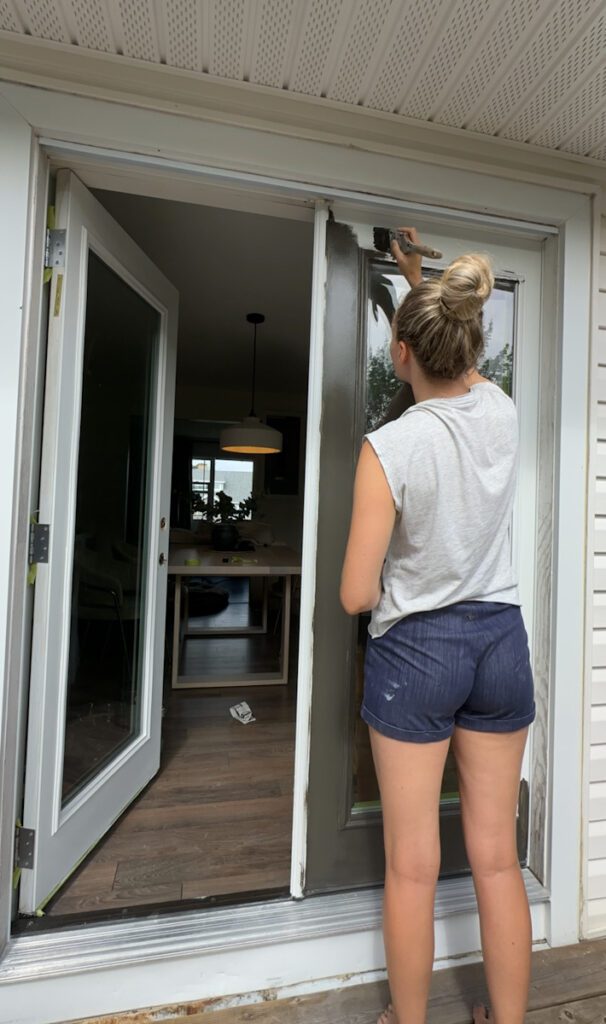
When it’s time to paint, I recommend Sherwin Williams' Emerald Urethane Trim Enamel paint. It’s a high-quality, self-leveling paint that’s durable and long-lasting. Apply your first coat, let it dry, then lightly sand and apply a second coat as needed.
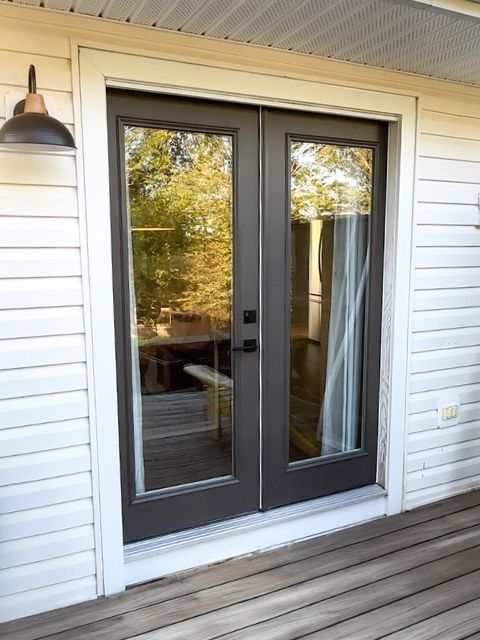
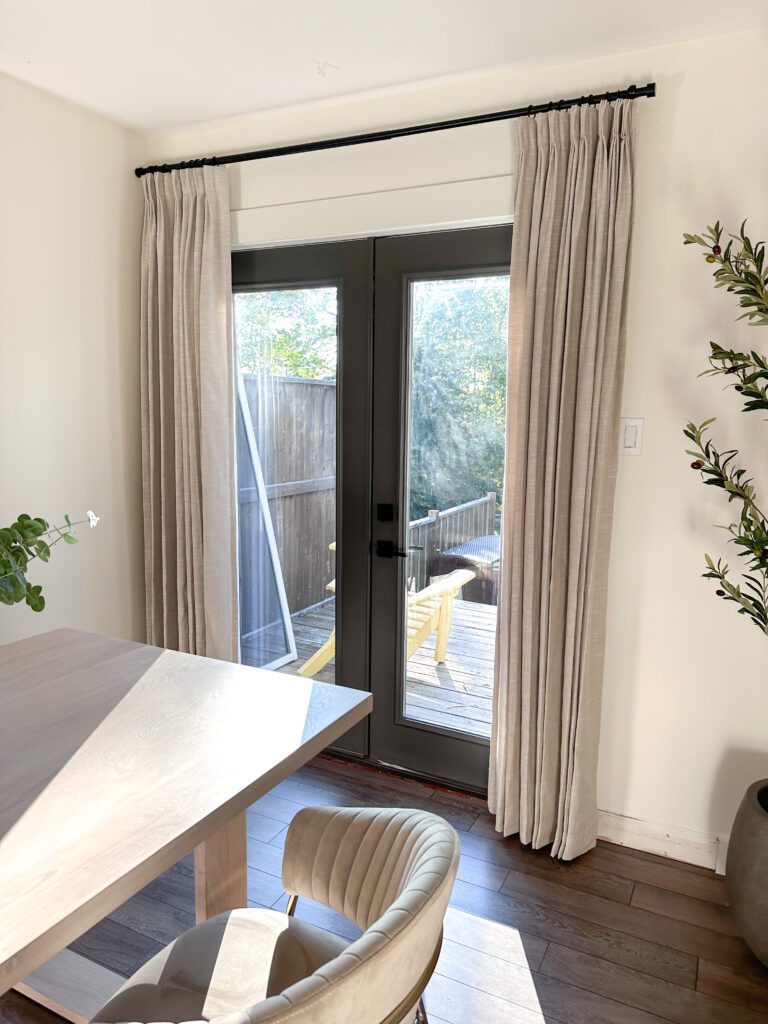
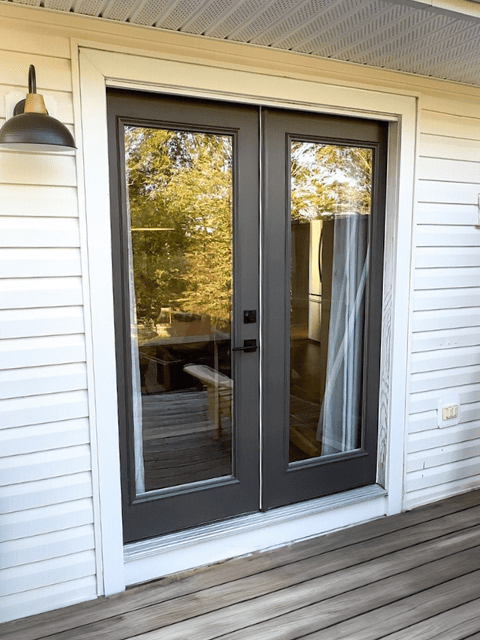
For my project I used the color Urbane Bronze by SW.
I like to use a roller wherever I can and only use a brush in hard to reach areas. Again, if you get brush stroke marks after the paint dries, just give it a light scuff to sand it down before doing your next coat. What I love about Sherwin Williams paint is that is self levels and dries with an incredibly smooth finish!
You may be wondering, do I need to paint the vertical centre stile of the door? Yes. You should. It will make the door look more complete. Depending on the trim around your door you can paint that too. For my door, I chose not to based on the style of the trim.
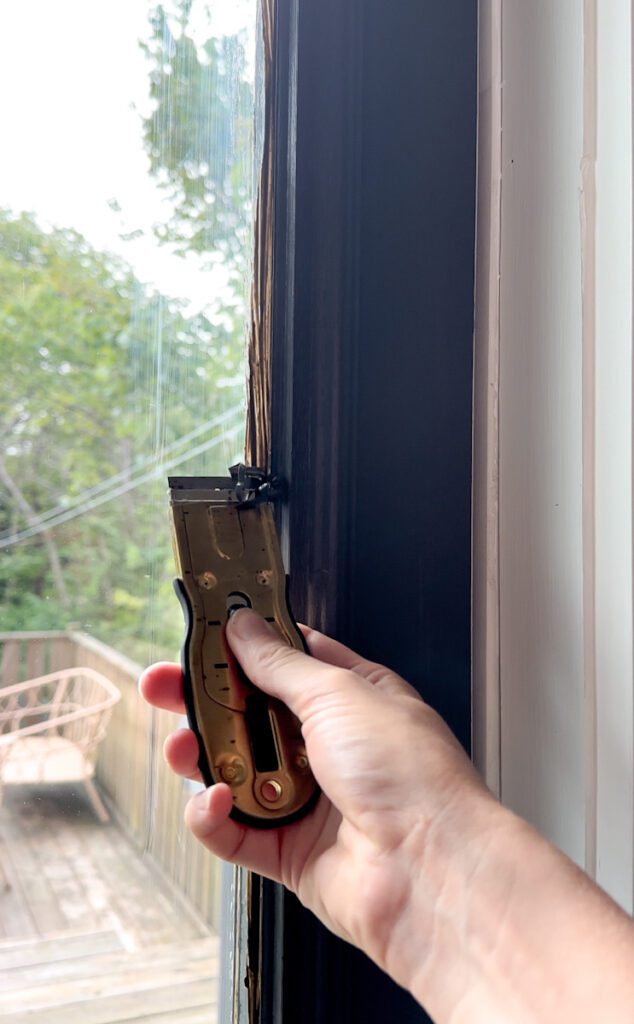
Typically, you’ll need to go back with a brush for minor touch-ups. If your door has glass and you get paint on it, just take your knife and score it then scrape it off. Once you’ve completed the project, you’ll be left with a beautifully refreshed door that will stand the test of time.
No topcoat needed!
Tips For Success: Best Paint For Exterior metal door
- Taping Hinges: Extend the tape past the hinge and use an X-Acto knife to trim away the excess. This avoids the challenge of trying to line up the tape perfectly. Check out one of my video here for more details on this technique.
- Using Paper: I like to use paper around the edges to protect nearby surfaces from the roller or brush.
- Sanding: As mentioned, don’t skip the sanding between coats if you want a truly smooth finish!
- Removing Hardware: For a more professional look, remove the door handle and lock. This allows you to use a roller in these areas for a smoother finish. Plus, if the hardware shifts over time, you won’t see any unpainted patches.
- Choosing Paint Color: Select a color that complements the existing palette of your home. If your home has vivid, saturated colors, pick something equally bold. For a more muted color scheme, choose something softer to maintain a cohesive look.
Conclusion: best paint for exterior metal door and steps
I hope you found this guide covering best paint for exterior metal door and steps to painting your exerior door for a lasting finish helpful for painting your exterior door! If you give this project a try, let me know how it turns out and if these tips helped. Here is a video from behind-the-scenes of me painting the door from this blog post. Happy painting!
Check out Split Level Home Exterior Makeover: How To Add Value On A Budget
Loved this project? Let’s stay connected!
If you found this DIY guide helpful, don’t forget to save it for later by pinning it to your favorite Pinterest board! 
Want more inspiration?
Sign up for my newsletter and get exclusive step-by-step guides, budget-friendly home ideas, and my favorite product recommendations delivered straight to your inbox. Plus, you’ll be the first to know about new DIY projects!
