When we first bought our home, I envisioned a complete kitchen overhaul. However, after diving into renovation costs, I decided to explore budget-friendly upgrades instead. I started to do some research to see if I could update my kitchen on a budget, was a remodel necessary? Today, I’m thrilled to share how we were able to update our kitchen without replacing cabinets on a budget for under $1,600 - turning it into a space we love! This was my first true DIY project other than painting do small cosmetic updates throughout my home so if you are new to DIY and feel this project might be intimidating, you've found the right post!
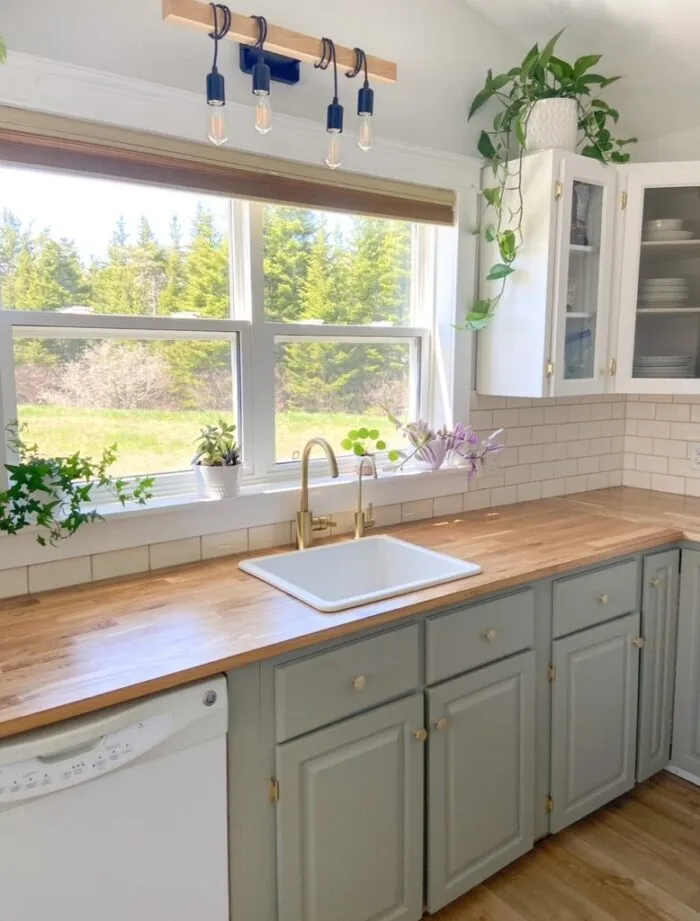
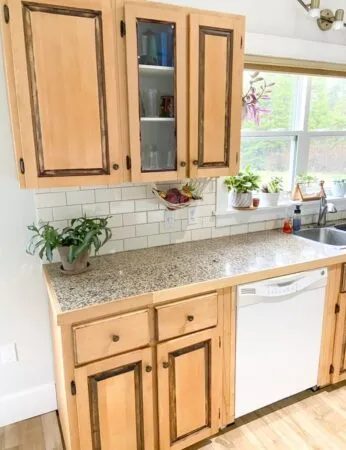
Here is a before and after photo of my kitchen
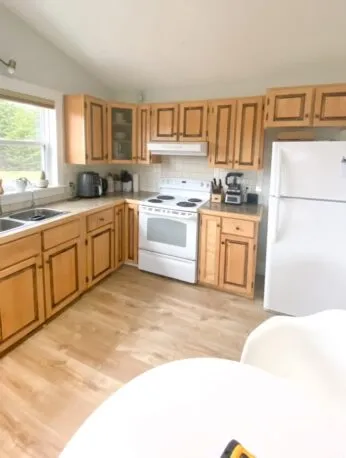
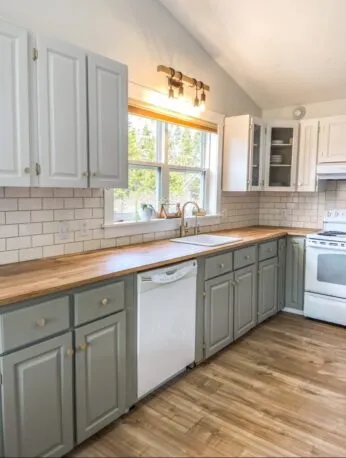
Looking to paint your kitchen cabinets but not sure where to start? Click here to learn more about my e-book that will walk you through every step of the way!
Materials and Tools Used to Update My Kitchen Without Replacing Cabinets On A Budget
To achieve this transformation, here’s what I used:
Materials
- TSP Alternative by Fusion Mineral Paint
- 120 & 220 grit sandpaper
- Fusion Mineral Paint in Victorian Lace and Eucalyptus
- New hardware and hinges
- Sink and faucet from IKEA
- IKEA countertop
- New light fixture
Tools
- Circular Saw
- Jigsaw
- Holesaw
- Measuring tape
- Multibit Screwdriver
- Drill
- Paint brush, roller, tray
The 5 Steps To Update My Kitchen Without Replacing Cabinets On A Budget
Step 1: Prep your cabinets for paint
To update my kitchen on a budget, the most dramatic change came from painting our existing cabinets. I began by removing all doors and drawers, then gave them a thorough cleaning with TSP Alternative by Fusion Mineral Paint. After cleaning, I lightly sanded the surfaces with 220 grit sandpaper to ensure the paint would adhere properly. A final wipe-down removed any dust, and we were ready to start painting!
Step 2: Paint your cabinets
For this project, I used Fusion Mineral Paint with a brush and roller. In hindsight, priming the cabinets would have saved time and effort, especially since they were original wood. I recommend using BIN Primer if your cabinets have never been painted before. To achieve a smooth finish, I lightly sanded with 220 grit sandpaper between coats and applied Fusion Tough Coat to resist wear and tear without any shine. The total cost for paint and supplies was about $150 CAD.
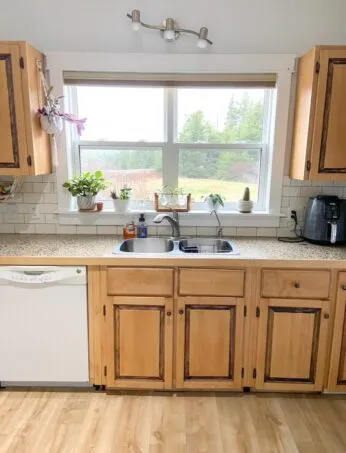
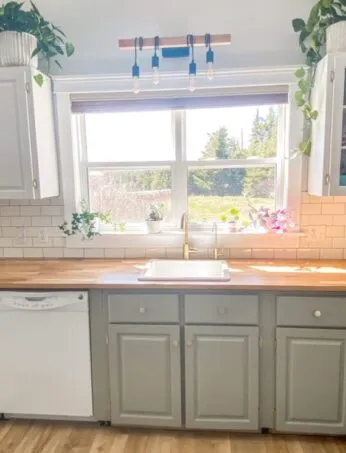
Step 3: Replace kitchen countertops and install new sink
Finding affordable yet stylish countertops was a priority. We chose the IKEA Veneer Oak countertops, which cost $500 CAD and came pre-cut. We avoided complex cuts and only shortened one piece with a circular saw. The sink and faucet from IKEA, priced at $335 CAD, included a template for cutting holes in the countertop, which made the installation straightforward. A friend helped level the countertops, but if you’re doing it yourself, just make sure to have shims on hand!
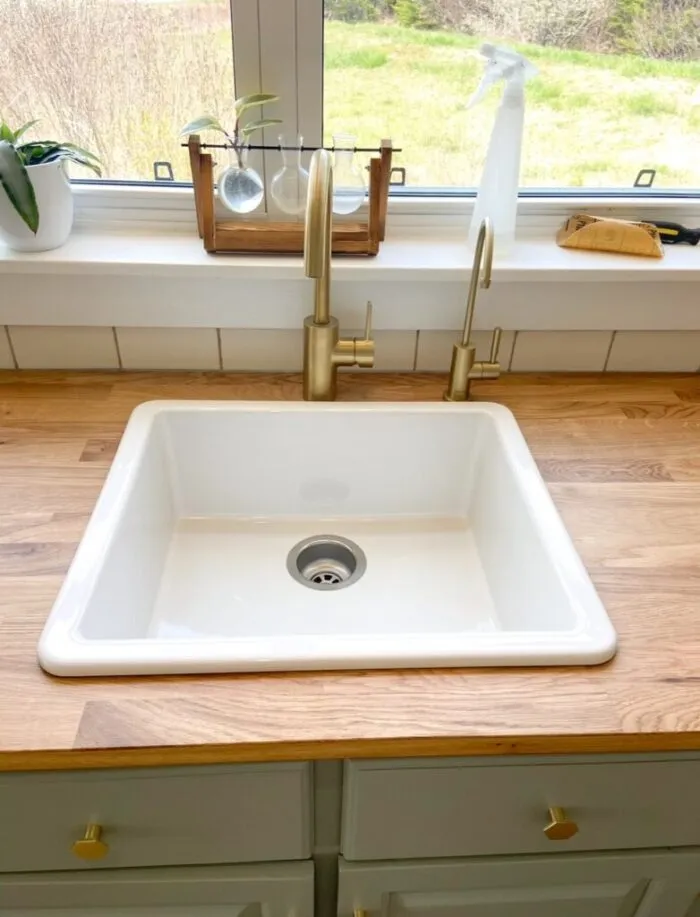
Step 4: Install a budget friendly light fixture
A new light fixture over the sink from Home Depot Canada added a fresh look for $144 CAD. Installation was simple by following the provided instructions—just remember to turn off the power before handling any electrical work!

Step 5: Update kitchen hardware and hinges
We found elegant gold door pulls and hinges on Amazon for approximately $190 CAD (this is an affiliate link). They fit perfectly into the existing holes, making the update both affordable and easy. Once everything was installed, we reassembled the kitchen and were amazed by the transformation!

Tips For Success With Update Kitchen Without Replacing Cabinets On A Budget
Having completed this kitchen upgrade and a couple more since, I’ve learned a few valuable lessons:
- Prime Before Painting: If your cabinets have never been painted, always prime them to ensure better paint adhesion and durability. I have since painted two more kitchens and have used the BIN Primer- this is a must!
- Test Paint Colors: Get paint samples and test them on your cabinets. Colors can look different under various lighting conditions, so observe them at different times of day.
- Use a Paint Sprayer: For the best finish and efficiency, consider using a paint sprayer for cabinet doors, otherwise a roller where possible.
- Opt for Hidden Hinges: For a sleek, high-end look, use invisible hinges and fill old holes with wood filler, sanding, and priming.
- Compare Prices: Research and compare prices to find the best materials within your budget.
This was my first major DIY project, and I’d rate it a 2 out of 5 in difficulty. It wasn’t overly challenging, but it required considerable effort and time—about two months of working on it intermittently. The result? A beautifully transformed kitchen that didn’t break the bank. You can update your kitchen on a budget and still get amazing results.
Check out my video HERE on Instagram to see behind-the-scenes footage of the project.
Still unsure where to start when it comes to painting your kitchen cabinets?
Looking for a more detailed guide to walk you through step by step and cover everything from painting wood, laminate, or pre-painted cabinets?
I've created an e-book guide where I cover EVERYTHING including the most common questions I get when it comes to painting your kitchen. I go into detail on all of the tools and products I use, prep work depending on your type of cabinets, and techniques on how to prime and paint for a professional lasting finish.
Checkout my other post on 4 Easy and Affordable Ways To Elevate Your Builder Grade Home Today
